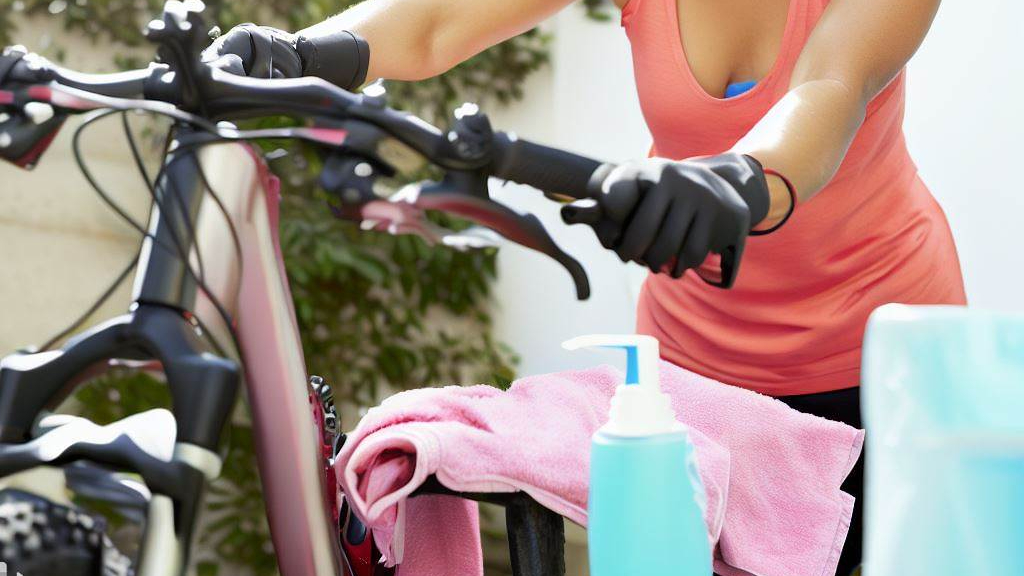
How To Clean Your Bike Properly

Learn how to clean your bike so that it will last for as long as possible, and it will look good along the way.
*This article may contain affiliate ads that help to support this site*
Whether you’re a casual cyclist or a competitive racer, keeping your bike clean is an essential part of maintaining its performance, longevity, and appearance. Regular cleaning can help prevent dirt, debris, and grime from building up on the moving parts of your bike, which can cause wear and tear, reduce efficiency, and even lead to breakdowns. Additionally, cleaning your bike can help you spot any potential issues before they become more serious problems.
In this article, we’ll walk you through the process of cleaning your bike from start to finish, providing you with step-by-step instructions and useful tips along the way. We’ll cover everything from gathering your supplies to washing the frame and wheels, and we’ll explain how to care for your bike properly to keep it in good condition. Whether you’re new to bike cleaning or you’re a seasoned pro, this guide will help you get the most out of your bike and keep it looking and performing its best. So, let’s get started!
1. Gather Your Supplies
Before you begin cleaning your bike, you’ll need to gather some essential tools and cleaning products. Here’s a list of the items you’ll need:
-Bike stand or something to hold your bike steady
-Cleaning brushes (such as a soft-bristled brush, a chain brush, and a detailing brush)
-Chain cleaning tool (optional)
-Bucket of warm water
-Dish soap or bike-specific cleaning solution
-Degreaser (optional)
-Lubricant (such as chain oil or grease)
-Microfiber cloths or a chamois
-Water hose or spray bottle
-Protective gloves (optional)
You can find most of these items at your local bike shop or online. When choosing cleaning products, make sure they’re safe for your bike’s specific materials and finishes. Avoid using harsh chemicals or abrasive materials that can scratch or damage your bike’s surfaces.
If you’re unsure about which products to use, ask your local bike shop for recommendations. They can help you choose the right cleaning products for your bike and advise you on how to use them properly.
Once you’ve gathered your supplies, set up your cleaning station. Place your bike in a bike stand or find a stable surface to hold it steady. Set up your bucket of warm water and cleaning products nearby, along with your brushes and cloth rags.
By gathering your supplies ahead of time, you’ll be prepared to clean your bike efficiently and thoroughly. Plus, having everything you need at hand will make the cleaning process more enjoyable and less stressful. In the next section, we’ll show you how to inspect your bike before you start cleaning.
2. Pre-Cleaning Inspection
Before you begin cleaning your bike, it’s important to inspect it for any signs of damage or wear. This can help you identify any issues that need to be addressed and prevent further damage during the cleaning process.
Here are some steps to follow for a thorough pre-cleaning inspection:
-Check for damage: Look for any cracks, dents, or other signs of damage on your bike’s frame, wheels, and components. Pay close attention to areas that are prone to stress, such as the fork, seat stays, and bottom bracket. If you notice any damage, take your bike to a professional for repair or replacement.
-Check the tires: Inspect your tires for any cuts, punctures, or worn tread. Make sure they’re properly inflated according to the manufacturer’s recommended pressure. If your tires need to be replaced, take this opportunity to do so before you start cleaning your bike.
-Check the brakes: Check that your brakes are working properly and that the brake pads are not worn down. If your brakes need adjustment or new pads, take care of this before you start cleaning your bike.
-Check the drivetrain: Look for any signs of wear or damage on your chain, cassette, and derailleur. Make sure your chain moves smoothly across the cassette and derailleur.
-Check the cables: Inspect your cables for any fraying or kinks. If you notice any issues, have them replaced before cleaning your bike.
By following these steps, you can identify any issues that need to be addressed before cleaning your bike. This can help prevent further damage and ensure that your bike is in good condition for your next ride. In the next section, we’ll show you how to clean your bike’s drivetrain.
3. Cleaning The Drivetrain
The drivetrain is one of the most important parts of your bike, and it’s also one of the dirtiest. Over time, dirt, grease, and grime can accumulate on your chain, cassette, and derailleur, which can cause wear and tear and reduce performance. Cleaning your bike’s drivetrain regularly can help prevent these issues and keep your bike running smoothly.
Here are the steps to follow for cleaning your bike’s drivetrain:
-Apply degreaser: Start by applying degreaser to your chain, cassette, and derailleur. Use a chain cleaning tool to scrub the chain and a soft-bristled brush to scrub the cassette and derailleur. Make sure to apply the degreaser liberally, and let it sit for a few minutes to break down any dirt and grime.
-Scrub the drivetrain: Use a chain cleaning tool or a soft-bristled brush to scrub the chain, cassette, and derailleur thoroughly. Make sure to get into all the crevices and hard-to-reach areas. This will help remove any dirt or grease that has built up on your bike’s drivetrain.
-Rinse off the degreaser: Use a water hose or a spray bottle filled with water to rinse off the degreaser from your bike’s drivetrain. Make sure to rinse thoroughly to remove all the degreaser and any dirt or grime that has been loosened. A spray bottle is best because it is very gentle and won’t force water inside your chain links, causing premature rusting.
-Dry the drivetrain: Use a microfiber cloth or a chamois to dry your bike’s drivetrain. Make sure to dry all the components, chain, cassette, and derailleurs, thoroughly to prevent rust or corrosion.
-Lubricate the chain: Once your bike’s drivetrain is clean and dry, apply lubricant to the chain. Use a quality chain oil that’s appropriate for your bike’s specific needs. Depending on where you live you might need a wet lube or a dry lube. Apply a drop of lubricant to each link in the chain, and wipe off any excess with a clean cloth.
By following these steps, you can keep your bike’s drivetrain in good condition and extend its lifespan. Regular cleaning and lubrication can also help improve your bike’s performance and efficiency. In the next section, we’ll show you how to wash your bike’s frame and wheels.

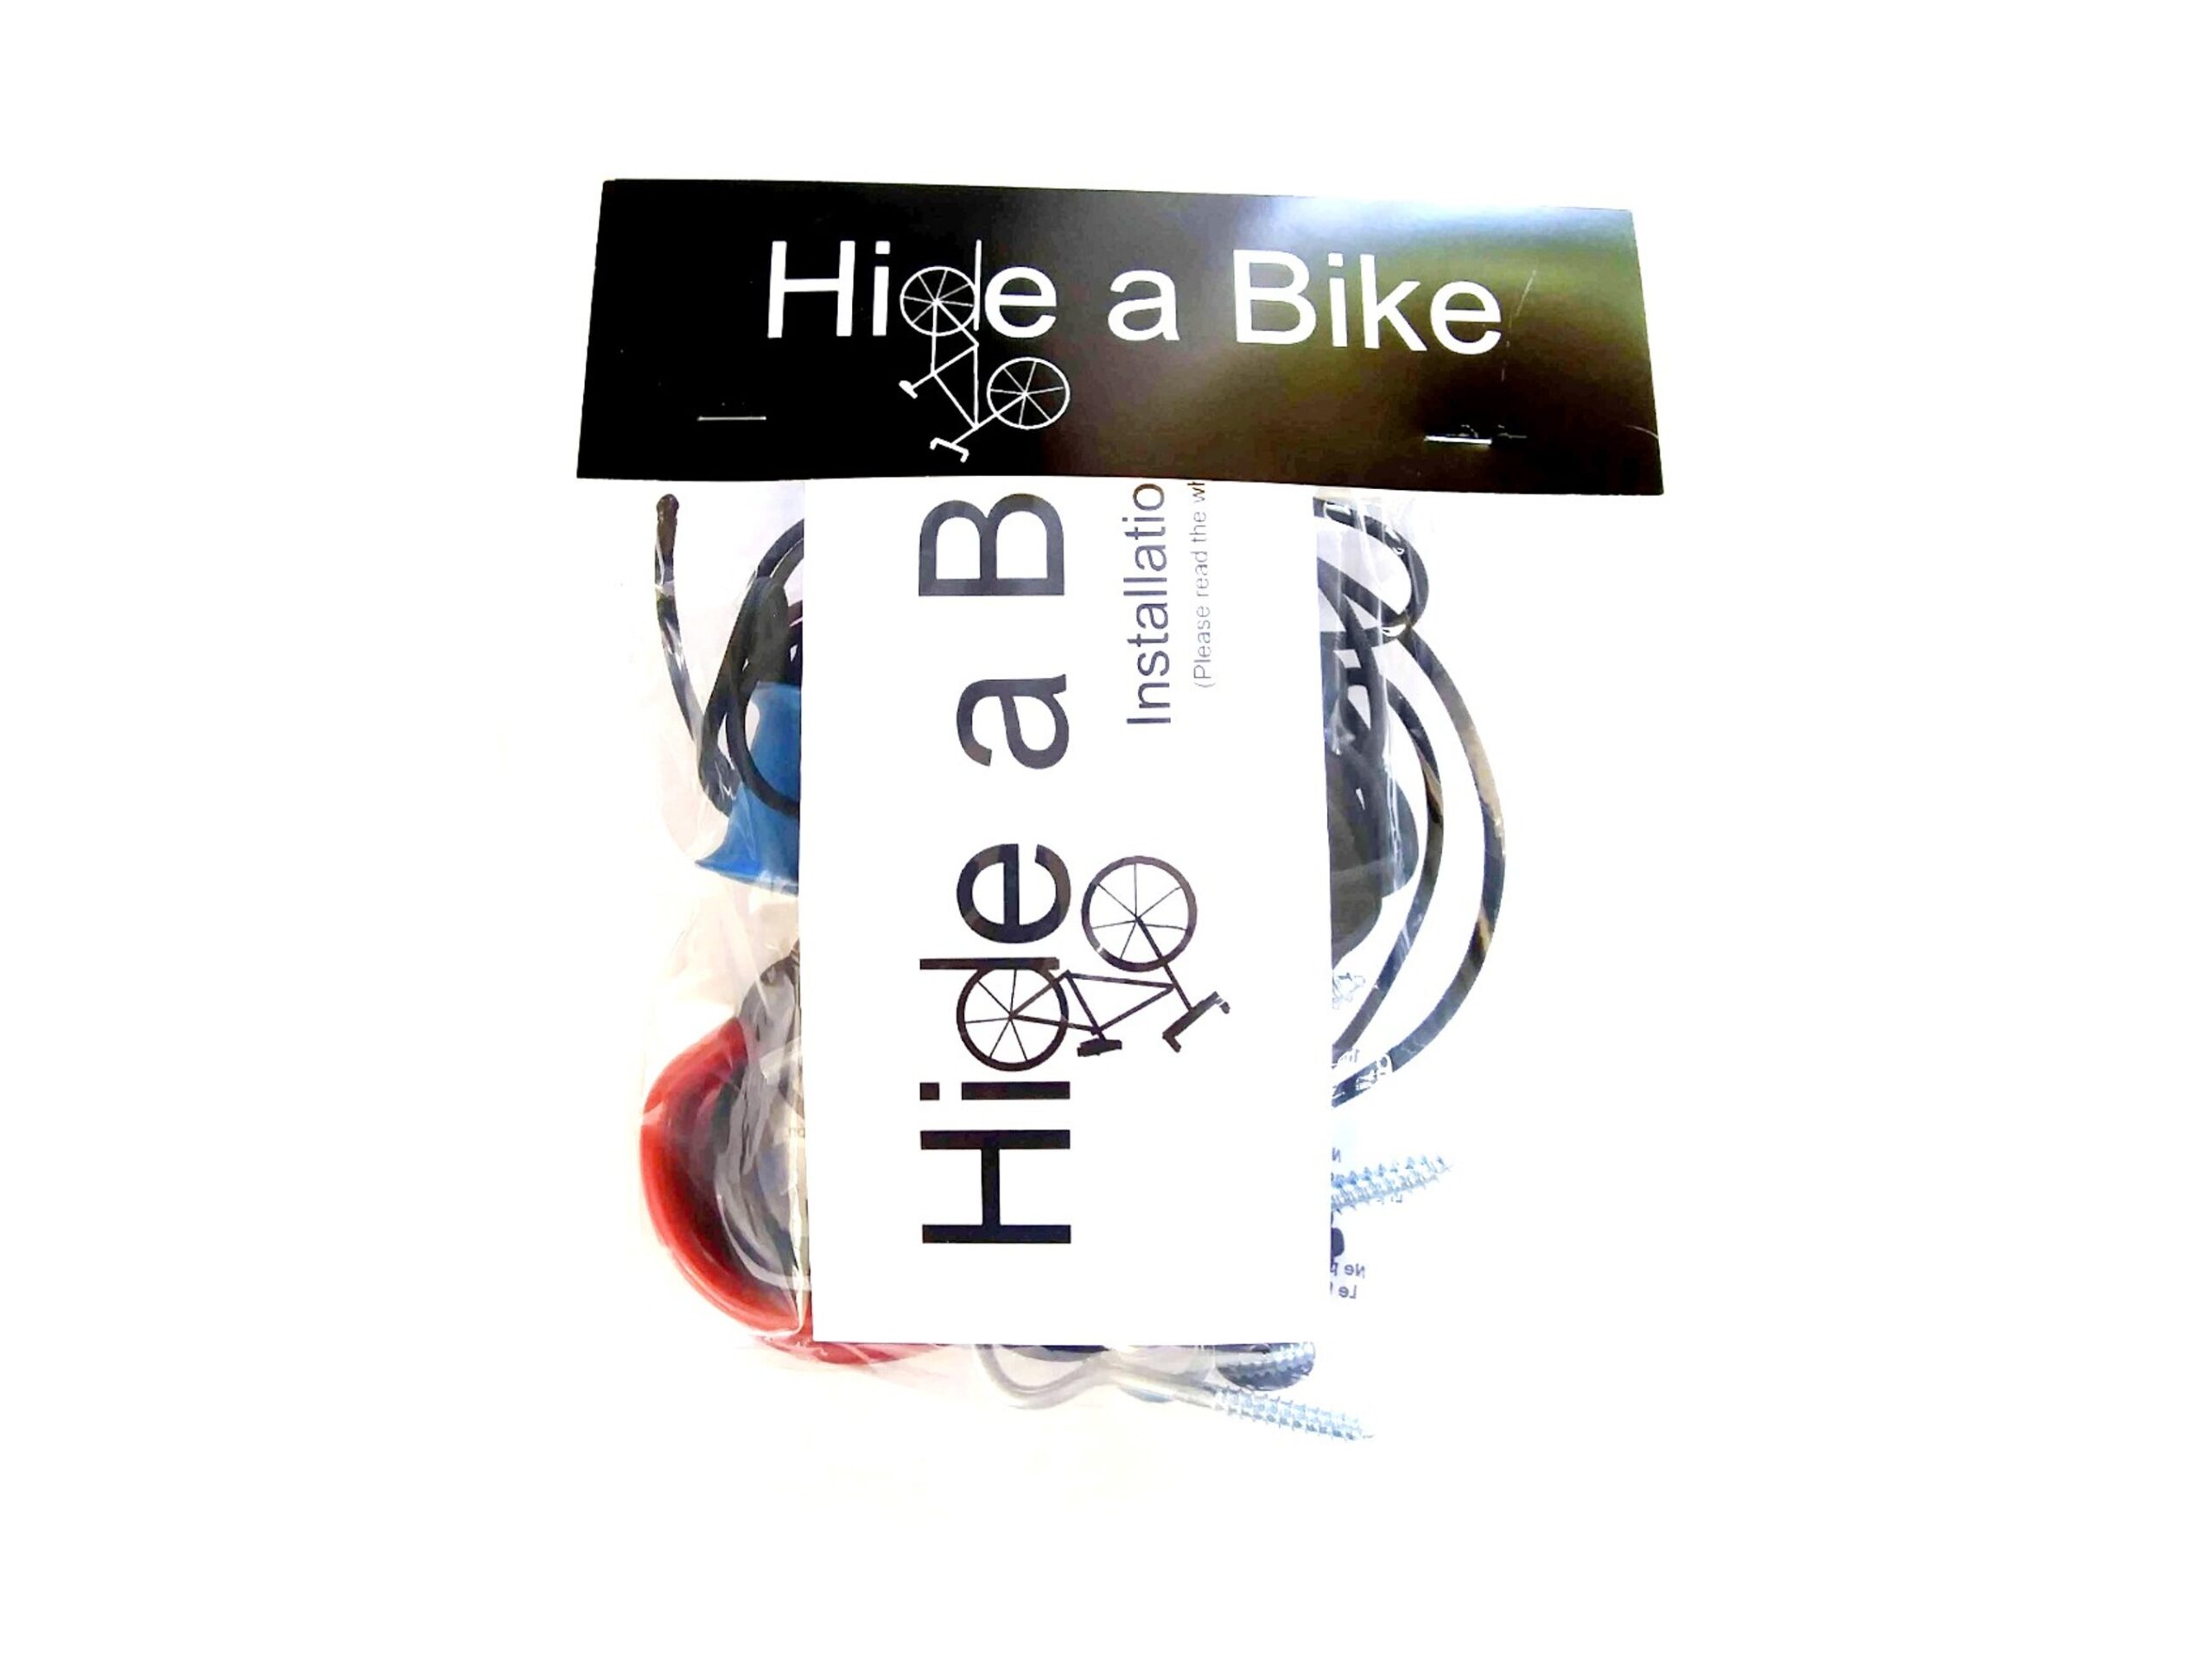
Hide A Bike Kit
Is your garage starting to become a mess? Save space by storing your bikes flat against the ceiling.
4. Wash The Bike Frame
Now that you’ve cleaned your bike’s drivetrain, it’s time to move on to the rest of the bike. Washing your bike’s frame and wheels will help remove any dirt, grime, or other debris that has accumulated on the surface of your bike.
Here are the steps to follow for washing your bike’s frame:
-Prepare your cleaning solution: Fill a bucket with warm water and add a mild detergent or bike-specific cleaner. Avoid using harsh chemicals that can damage your bike’s paint or finish.
-Wet the bike: Use a trickling hose or a spray bottle filled with water to wet your bike’s frame and wheels. This will help loosen any dirt or grime that has accumulated on the surface. Avoid using a power-washer, as this could force water into bearings that will eventually rust out.
-Scrub the frame: Use a soft-bristled brush or a sponge to scrub the frame of your bike. Make sure to get into all the nooks and crannies, including the underside of the frame and the fork.
-Rinse off the cleaning solution: Use a hose or a spray bottle filled with water to rinse off the cleaning solution from your bike’s frame. Make sure to rinse thoroughly to remove all the soap and dirt. Again be sure to use a spray bottle or a gently trickling hose. No power washers!
-Dry the bike: Use a microfiber cloth or a chamois to dry your bike’s frame and wheels. Make sure to dry all the components thoroughly to prevent rust or corrosion.
By following these steps, you can keep your bike’s frame and wheels clean and in good condition. Regular washing can also help prevent damage to your bike’s paint or finish. In the next section, we’ll show you how to dry and polish your bike.
5. Dry And Polish
After washing your bike, it’s important to dry and polish it to prevent rust or corrosion and keep it looking its best. Here’s how to do it:
-Dry the bike: Use a microfiber cloth or a chamois to dry your bike’s frame, wheels, and all other components. Make sure to dry all the nooks and crannies to prevent moisture from getting trapped and causing damage.
-Apply polish: Once your bike is dry, apply a bike-specific polish or wax to protect the paint and finish. Use a clean microfiber cloth to apply the polish in a circular motion, and make sure to cover all the surfaces of your bike.
-Buff the bike: After applying the polish, use a clean microfiber cloth to buff the surface of your bike to a shine. This will help remove any excess polish and bring out the shine of your bike’s paint and finish.
-Inspect the bike: Once you’ve finished polishing your bike, take a few minutes to inspect it for any signs of damage or wear and tear. Look for cracks or scratches in the frame, bent or broken components, or any other issues that may need to be addressed.
By following these steps, you can keep your bike looking its best and protect it from damage caused by moisture, dirt, and debris. Regular cleaning and maintenance can also help extend the life of your bike and improve its performance.
6. Finishing Touches
Now that you’ve cleaned and polished your bike, it’s time to add a few finishing touches to make it look and perform its best. Here are a few things you can do:
-Lubricate the chain: I know we mentioned this earlier, but it is important enough to mention again. After cleaning and drying your bike’s drivetrain, it’s important to lubricate the chain to keep it running smoothly. Apply a bike-specific lubricant to the chain, and wipe off any excess with a clean cloth. One drop of lubricant per link will do the trick.
-Adjust the brakes and gears: If your brakes or gears are not working properly, take the time to adjust them now. Consult your bike’s manual or take it to a professional bike shop if you’re not sure how to do this yourself.
-Inflate the tires: Use a bicycle pump to check the tire pressure and inflate the tires to the recommended level. Proper tire pressure can improve your bike’s performance and prevent flats.
-Check the lights and reflectors: Make sure your bike’s lights and reflectors are clean and working properly. This is especially important if you plan to ride your bike at night or in low-light conditions.
-Install accessories: If you have any accessories you want to add to your bike, such as a water bottle holder or a bike computer, now is the time to install them.
By taking these steps, you can ensure that your bike is clean, well-maintained, and ready to ride. Remember to clean your bike regularly to keep it in good condition, and to address any issues as soon as they arise. With proper care, your bike can provide years of enjoyment and reliable performance.

Hide-A-Bike Installation Guide
If you want to put together a Hide-A-Bike kit for yourself, just download these easy to follow, step-by-step directions, complete with a full hardware and parts list.
Conclusion
Cleaning your bike may seem like a tedious chore, but it’s an important part of bike maintenance that can improve its performance and extend its lifespan. By following the steps outlined in this article, you can keep your bike clean, well-maintained, and ready to ride. Remember to gather your supplies first, inspect your bike before cleaning, focus on cleaning the drivetrain and bike frame, and finish with drying and polishing. Don’t forget to add those finishing touches, such as lubricating the chain, adjusting the brakes and gears, and checking the lights and reflectors. With just a little bit of effort, you can keep your bike looking and performing like new, and enjoy many miles of smooth, trouble-free riding!
Share This Article With A Friend
Did You Read This Whole Article?

You deserve a gift! Enter your email to receive a FREE copy of the Hide-A-Bike Installation Guide! And once a month we will send you a newsletter with the best deals on the internet for bicycle gear and accessories.
About Hide A Bike

Save space by keeping your bike flat against the ceiling with the original easy and convenient bicycle storage solution.
Thank You For Visiting!

You deserve a gift! Enter your email to receive a FREE copy of the Hide-A-Bike Installation guide. And once a month we will send you a newsletter with links to our best finds on bicycle gear and accessories.
Share This Article:
Most Popular Articles:
Article Categories:
Related Articles:


How To Clean And Lubricate Your Bike Chain


