How To Clean And Lubricate Your Bicycle Chain

Cleaning your bike chain is an easy, but important part of bicycle maintenance that many people tend to overlook.
*This article may contain affiliate ads that help to support this site*
Cleaning and lubricating a bicycle chain is an essential aspect of bike maintenance. A well-lubricated chain can reduce friction, prevent rust and corrosion, and extend the lifespan of the chain and the bike’s drivetrain components. However, if the chain is not lubricated correctly or if it’s left dry and dirty, it can cause unnecessary wear and tear, produce irritating noises, and affect the bike’s overall performance.
In this article, we’ll guide you through the steps to properly lubricate your bicycle chain. We’ll start by explaining the importance of cleaning the chain before applying the lubricant and the different types of lubricants available. We’ll then outline the steps to clean the chain using a degreaser and a rag, and how to apply the lubricant evenly along the chain. We’ll also provide some tips for maintaining a lubricated chain and ensuring a smoother ride.
Cleaning Your Bike Chain
Before applying lubricant to the chain, it’s important to clean it thoroughly to remove any dirt, grime, and old lubricant. Cleaning the chain not only helps the lubricant penetrate deeper into the chain links, but it also prevents the buildup of abrasive particles that can wear down the chain and the cassette over time.
To clean the chain, you’ll need a degreaser, a rag or brush, and a container. There are also tools specifically made for cleaning your chain. These do help but they aren’t necessary. You can use a commercially available degreaser, or you can make your own by mixing equal parts of water and a mild detergent or soap. Avoid using harsh chemicals or solvents that can damage the chain or the bike’s paint.
Start by lifting the bike onto a work stand to access the chain more easily. Dip the rag or brush into the degreaser and run it along the length of the chain, making sure to cover all the links, the cassette, and the derailleur pulleys. You can also spray the degreaser onto the chain directly, but be careful not to spray it onto the brake rotors or rims. We want to maintain that stopping power!
After applying the degreaser, let it sit on the chain for a few minutes to dissolve the dirt and grime. Then, use the rag or brush to scrub the chain vigorously, making sure to get into all the tight spots between the links. You may need to repeat this step a few times until the chain is visibly cleaner.
Once you’ve scrubbed the chain thoroughly, gently rinse it with clean water using a hose or a spray bottle. Avoid using a high-pressure washer, as it can force water into the bearings and seals and cause damage. After rinsing the chain, wipe it dry with a clean, dry rag and let it air dry for a few minutes before applying the lubricant.
By cleaning the chain before lubrication, you’ll ensure that the lubricant can penetrate into the chain links more effectively and provide better protection against wear and tear. It’s a simple step that will make a big difference in the longevity and performance of your bike’s drivetrain components.
Lubricating Your Bike Chain
After cleaning the chain, it’s time to apply the lubricant. The lubricant is essential for reducing friction between the chain links, preventing rust and corrosion, and keeping the drivetrain components running smoothly. However, applying too much or too little lubricant can lead to poor performance and premature wear.
To apply the lubricant, start by shaking the bottle well to ensure the lubricant is evenly mixed. Then, apply a small amount of lubricant to the chain while turning the pedals backward. Make sure to apply the lubricant evenly along the length of the chain, covering all the links and rollers.
It’s important to avoid over-lubrication, as this can attract more dirt and grime and cause the chain to become sticky and noisy. A good rule of thumb is to apply only one drop of lubricant per link, or about one-quarter inch of lubricant along the chain. If you’re using a spray lubricant, make sure to spray from a distance and avoid spraying too much in one spot.
After applying the lubricant, let it sit for a few minutes to penetrate into the chain links. Then, wipe off any excess lubricant with a clean rag, making sure to remove any buildup on the derailleur pulleys and the cassette. This step is important to prevent dirt and grime from sticking to the chain and causing unnecessary wear.
It’s also important to choose the right type of lubricant for your riding conditions. For dry and dusty conditions, a dry lubricant that doesn’t attract dirt may be more appropriate. While for wet and muddy conditions, a wet lubricant that can resist water may be just the ticket. Consult with your local bike shop or the lubricant manufacturer to determine the best lubricant for your needs.
By applying the lubricant correctly and in the right amount, you’ll ensure that the chain runs smoothly, quietly, and efficiently, and the drivetrain components last longer. It’s a simple step that can make a big difference in your riding experience.
Tips For Maintaining A Lubricated Chain
Now that you’ve cleaned and lubricated your chain, it’s important to maintain it properly to ensure optimal performance and longevity. Here are some tips to keep your chain running smoothly:
1) Wipe the chain after each ride: After each ride, use a rag to wipe the chain and remove any dirt, grime, or excess lubricant. This step will help prevent buildup and keep the chain clean and well-lubricated.
2) Avoid washing the chain with water: While it’s important to clean the chain periodically, avoid washing it with water, especially high-pressure water, as it can damage the chain and the bearings. Instead, use a dry rag or brush to remove dirt and grime, and spot-clean with a degreaser only when necessary.
3) Re-lubricate periodically: While over-lubrication can attract dirt and grime, under-lubrication can cause the chain to wear down quickly and become noisy. Depending on your riding conditions and the type of lubricant you’re using, you may need to re-lubricate the chain every 100-200 miles or every few weeks. Consult with your local bike shop or the lubricant manufacturer for specific recommendations.
4) Check the chain for wear: Over time, the chain can stretch and wear down, which can cause it to skip gears and damage the cassette and chainrings. To check the chain for wear, use a chain wear indicator tool or measure the distance between the pins. If the chain has stretched by more than 0.5%, it may be time to replace it.
5) Keep the drivetrain clean: In addition to cleaning and lubricating the chain, it’s important to keep the entire drivetrain clean and free of dirt and grime. This includes the cassette, chainrings, derailleur pulleys, and jockey wheels. Use a rag or brush to remove any buildup and a degreaser when necessary.
By following these tips, you’ll be able to maintain a well-lubricated chain and ensure that your bike’s drivetrain components perform optimally for years to come.

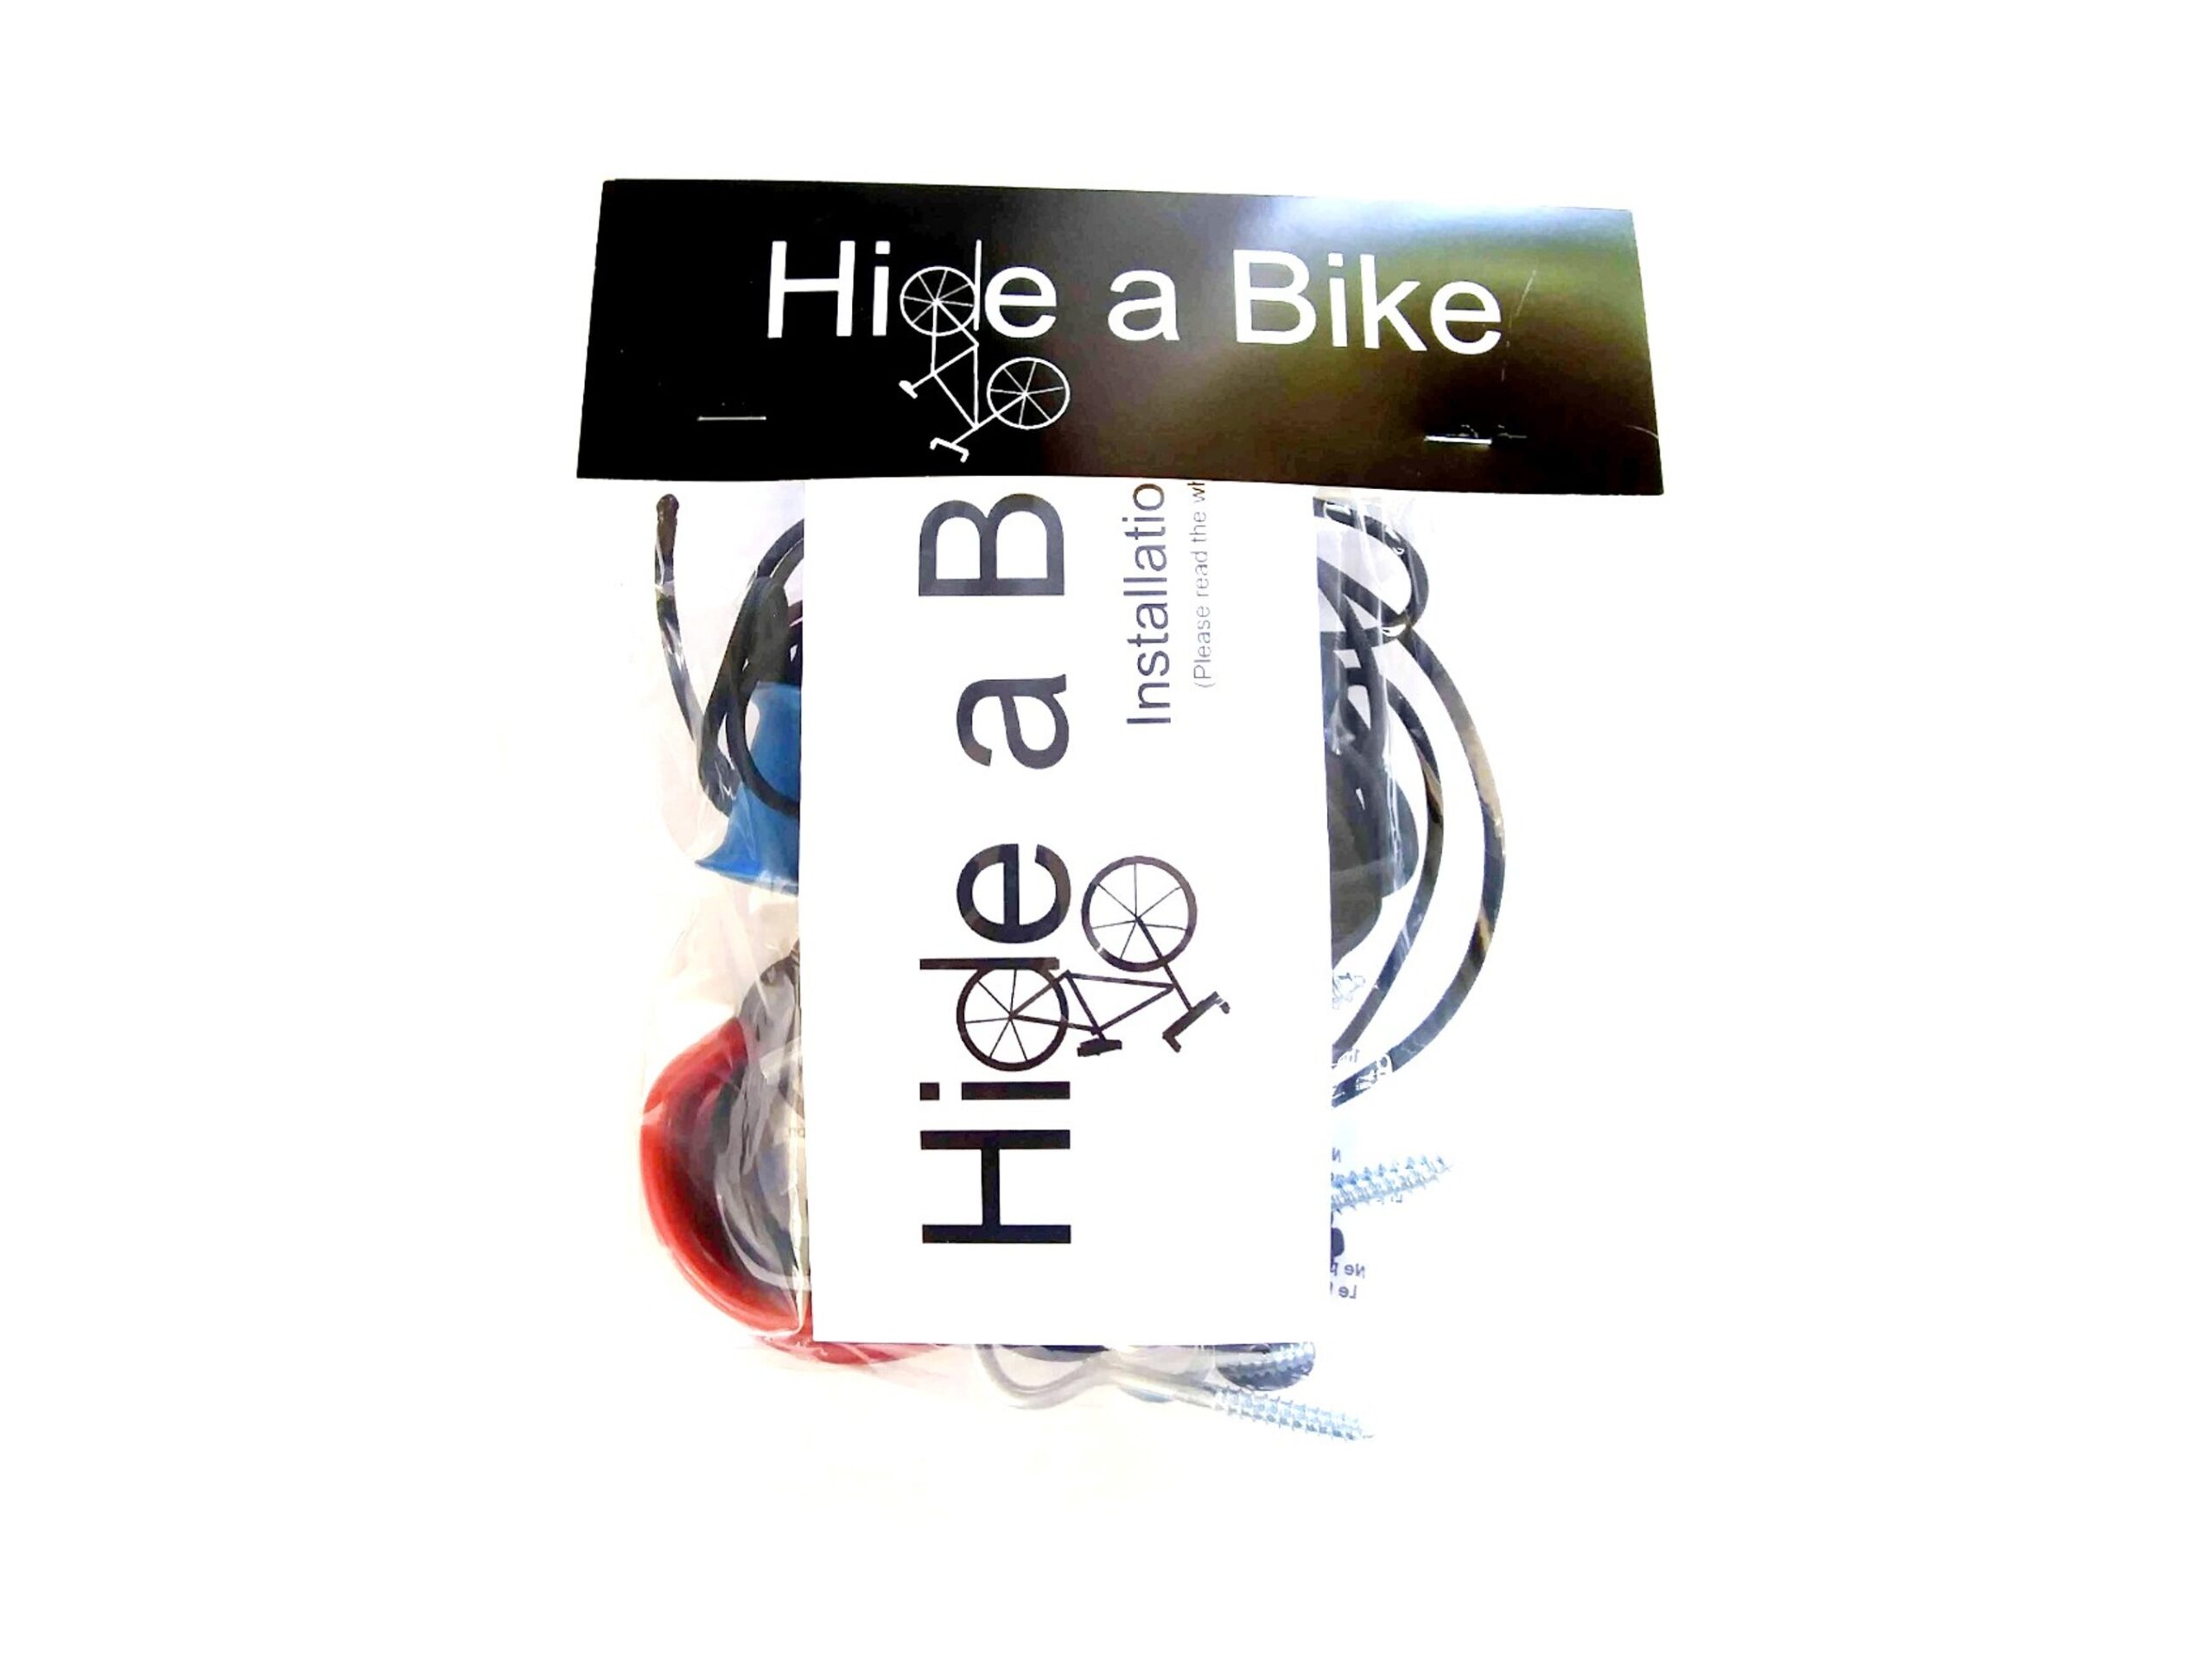
Hide A Bike Kit
Is your garage starting to become a mess? Save space by storing your bikes flat against the ceiling.
Conclusion
Keeping your chain clean and lubricated is one of the most important aspects of bike maintenance. A well-lubricated chain not only helps your bike run smoothly and quietly, but it can also extend the life of your drivetrain components and improve your overall riding experience.
By following the steps, you can clean and lubricate your chain with ease and keep it in optimal condition. Remember to clean the chain thoroughly before applying the lubricant, use the right type and amount of lubricant for your riding conditions, and maintain the chain properly by wiping it after each ride, avoiding washing it with water, and re-lubricating it periodically. Regular chain maintenance may seem like a chore, but it’s a small price to pay for a better and safer riding experience.
Share This Article With A Friend
Did You Read This Whole Article?

You deserve a gift! Enter your email to receive a FREE copy of the Hide-A-Bike Installation Guide! And once a month we will send you a newsletter with the best deals on the internet for bicycle gear and accessories.
About Hide A Bike

Save space by keeping your bike flat against the ceiling with the original easy and convenient bicycle storage solution.
Thank You For Visiting!

You deserve a gift! Enter your email to receive a FREE copy of the Hide-A-Bike Installation guide. And once a month we will send you a newsletter with links to our best finds on bicycle gear and accessories.
Share This Article:
Most Popular Articles:
Article Categories:
Related Articles:


How To Clean Your Bicycle Properly


