How To Fine-Tune Cleat Position For Your Clipless Pedals
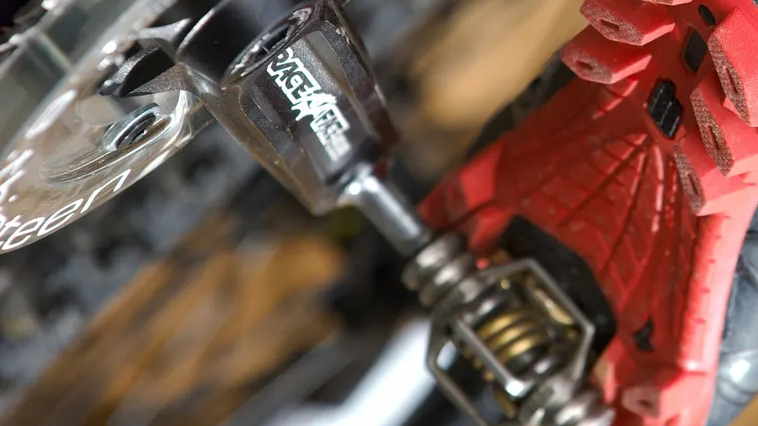
Explore expert tips for clipless pedal maintenance, from cleaning and lubrication to on-the-road adjustments, ensuring safer and more efficient cycling.
*This article may contain affiliate ads that help to support this site*
Clipless pedal accessories play a pivotal role in the world of cycling, where the precision of every movement can make the difference between victory and defeat. Among these accessories, cleat positioning and spacers stand out as essential components that influence a rider’s performance and comfort.
Cleat positioning is the foundation upon which efficient pedaling is built. It impacts power transfer, comfort during long rides, and even the risk of injury. In this article, we’ll explore the art of finding the optimal cleat position for your riding style.
Additionally, we’ll delve into the world of clipless pedal accessories, highlighting the importance of compatibility between cleats, pedals, and shoes. Whether you’re a road cyclist, mountain biker, or commuter, understanding these accessories can help you maximize your cycling experience. Join us on this journey to unlock the secrets of clipless pedal efficiency and comfort.
Cleat Positioning: The Foundation Of Efficiency
Cleat positioning is a fundamental aspect of cycling that can significantly impact your riding experience. It’s more than just attaching your cycling shoes to your pedals; it’s about optimizing your power transfer, preventing discomfort, and reducing the risk of injury.
When your cleats are positioned correctly, you’ll notice improved efficiency in your pedaling. Power transfer from your legs to the pedals is direct and efficient, meaning less energy is wasted. This can be particularly crucial for competitive cyclists and those embarking on long, challenging rides.
Comfort is another key element affected by cleat positioning. Properly aligned cleats reduce the likelihood of hot spots, numbness, and discomfort in your feet. A comfortable ride allows you to focus on your cycling experience rather than being distracted by discomfort.
Cleat positioning also plays a role in injury prevention. Incorrect positioning can lead to knee pain, Achilles tendon issues, or even back problems over time. By getting your cleat position right, you can reduce the risk of these common cycling-related injuries.
So, how can you find the ideal cleat position? It begins with understanding your personal biomechanics and riding style. Factors like your foot anatomy, pedaling technique, and the type of cycling you do all come into play. Experimentation and professional bike fitting can help dial in the perfect position.
Cleat Types And Compatability
When it comes to clipless pedal systems, cleats are not a one-size-fits-all accessory. The type of cleats you use, as well as their compatibility with your pedals and cycling shoes, can have a significant impact on your overall cycling experience.
Cleats come in various designs and configurations, each tailored to specific pedal systems. For instance, Shimano SPD cleats are different from Look Keo cleats, which are distinct from Crankbrothers cleats. It’s crucial to choose cleats that match your pedal system to ensure a secure connection between your shoes and pedals.
Compatibility doesn’t stop at the cleats themselves; your shoes must also be compatible with the chosen cleat type. Cycling shoes are designed with specific cleat drillings to accommodate various cleat designs. Make sure your shoes have the right drillings or slots for your chosen cleats. Most cycling shoes provide compatibility information, so it’s worth checking before purchasing.
Why does cleat compatibility matter? Using incompatible cleats or shoes can result in a loose or unstable connection, which affects power transfer and overall riding stability. An improper fit can lead to discomfort, hot spots, and decreased pedaling efficiency.
To determine the correct cleat type for your pedal system, consult the manufacturer’s recommendations or refer to the documentation that came with your pedals. If you’re unsure, consider seeking advice from a knowledgeable bike shop or a professional bike fitter who can ensure you make the right choice.
Keep in mind that different cycling disciplines may require specific cleat types. Road cyclists typically use three-bolt cleats, while mountain bikers often prefer two-bolt cleats for ease of walking on rugged terrain. Understanding the differences and selecting the appropriate cleats for your riding style is essential for a satisfying and efficient cycling experience.
Utilizing Spacers For Fine-Tuning
Cleat positioning is the cornerstone of pedal efficiency and rider comfort, but sometimes achieving the perfect cleat position requires a bit more than aligning them with the standard drillings on your cycling shoes. This is where spacers come into play, allowing cyclists to fine-tune their cleat setup for a more customized experience.
Spacers are small, often wedge-shaped, inserts that can be placed between the shoe and the cleat or under the cleat itself. Their primary purpose is to adjust the angle and height of the cleat, providing a more tailored fit. By using spacers strategically, you can address specific issues or preferences in your cycling style.
One common use of spacers is to address leg alignment. Some riders have natural variances in the alignment of their feet and legs. This can result in discomfort and inefficiency if not properly addressed. Spacers can help alleviate issues like toe-in or toe-out positioning, which can lead to knee pain or an uneven pedal stroke.
Another application of spacers is in managing foot tilt. If you find that your feet tilt inward or outward during your pedal stroke, spacers can be used to correct this, ensuring a more neutral and stable foot position. This is particularly beneficial for riders who experience foot discomfort or knee strain due to improper alignment.
The use of spacers is not limited to addressing physical alignment issues. They can also provide more control over your riding style. For instance, you can fine-tune the angle of your cleats to optimize power transfer or adjust the fore-aft position for better control and handling in mountain biking or cyclocross.
To effectively utilize spacers, experimentation and bike fitting expertise are key. Start by identifying any discomfort, pain, or performance issues you experience while riding. A professional bike fitter can assess your needs and recommend spacer adjustments tailored to your specific requirements.
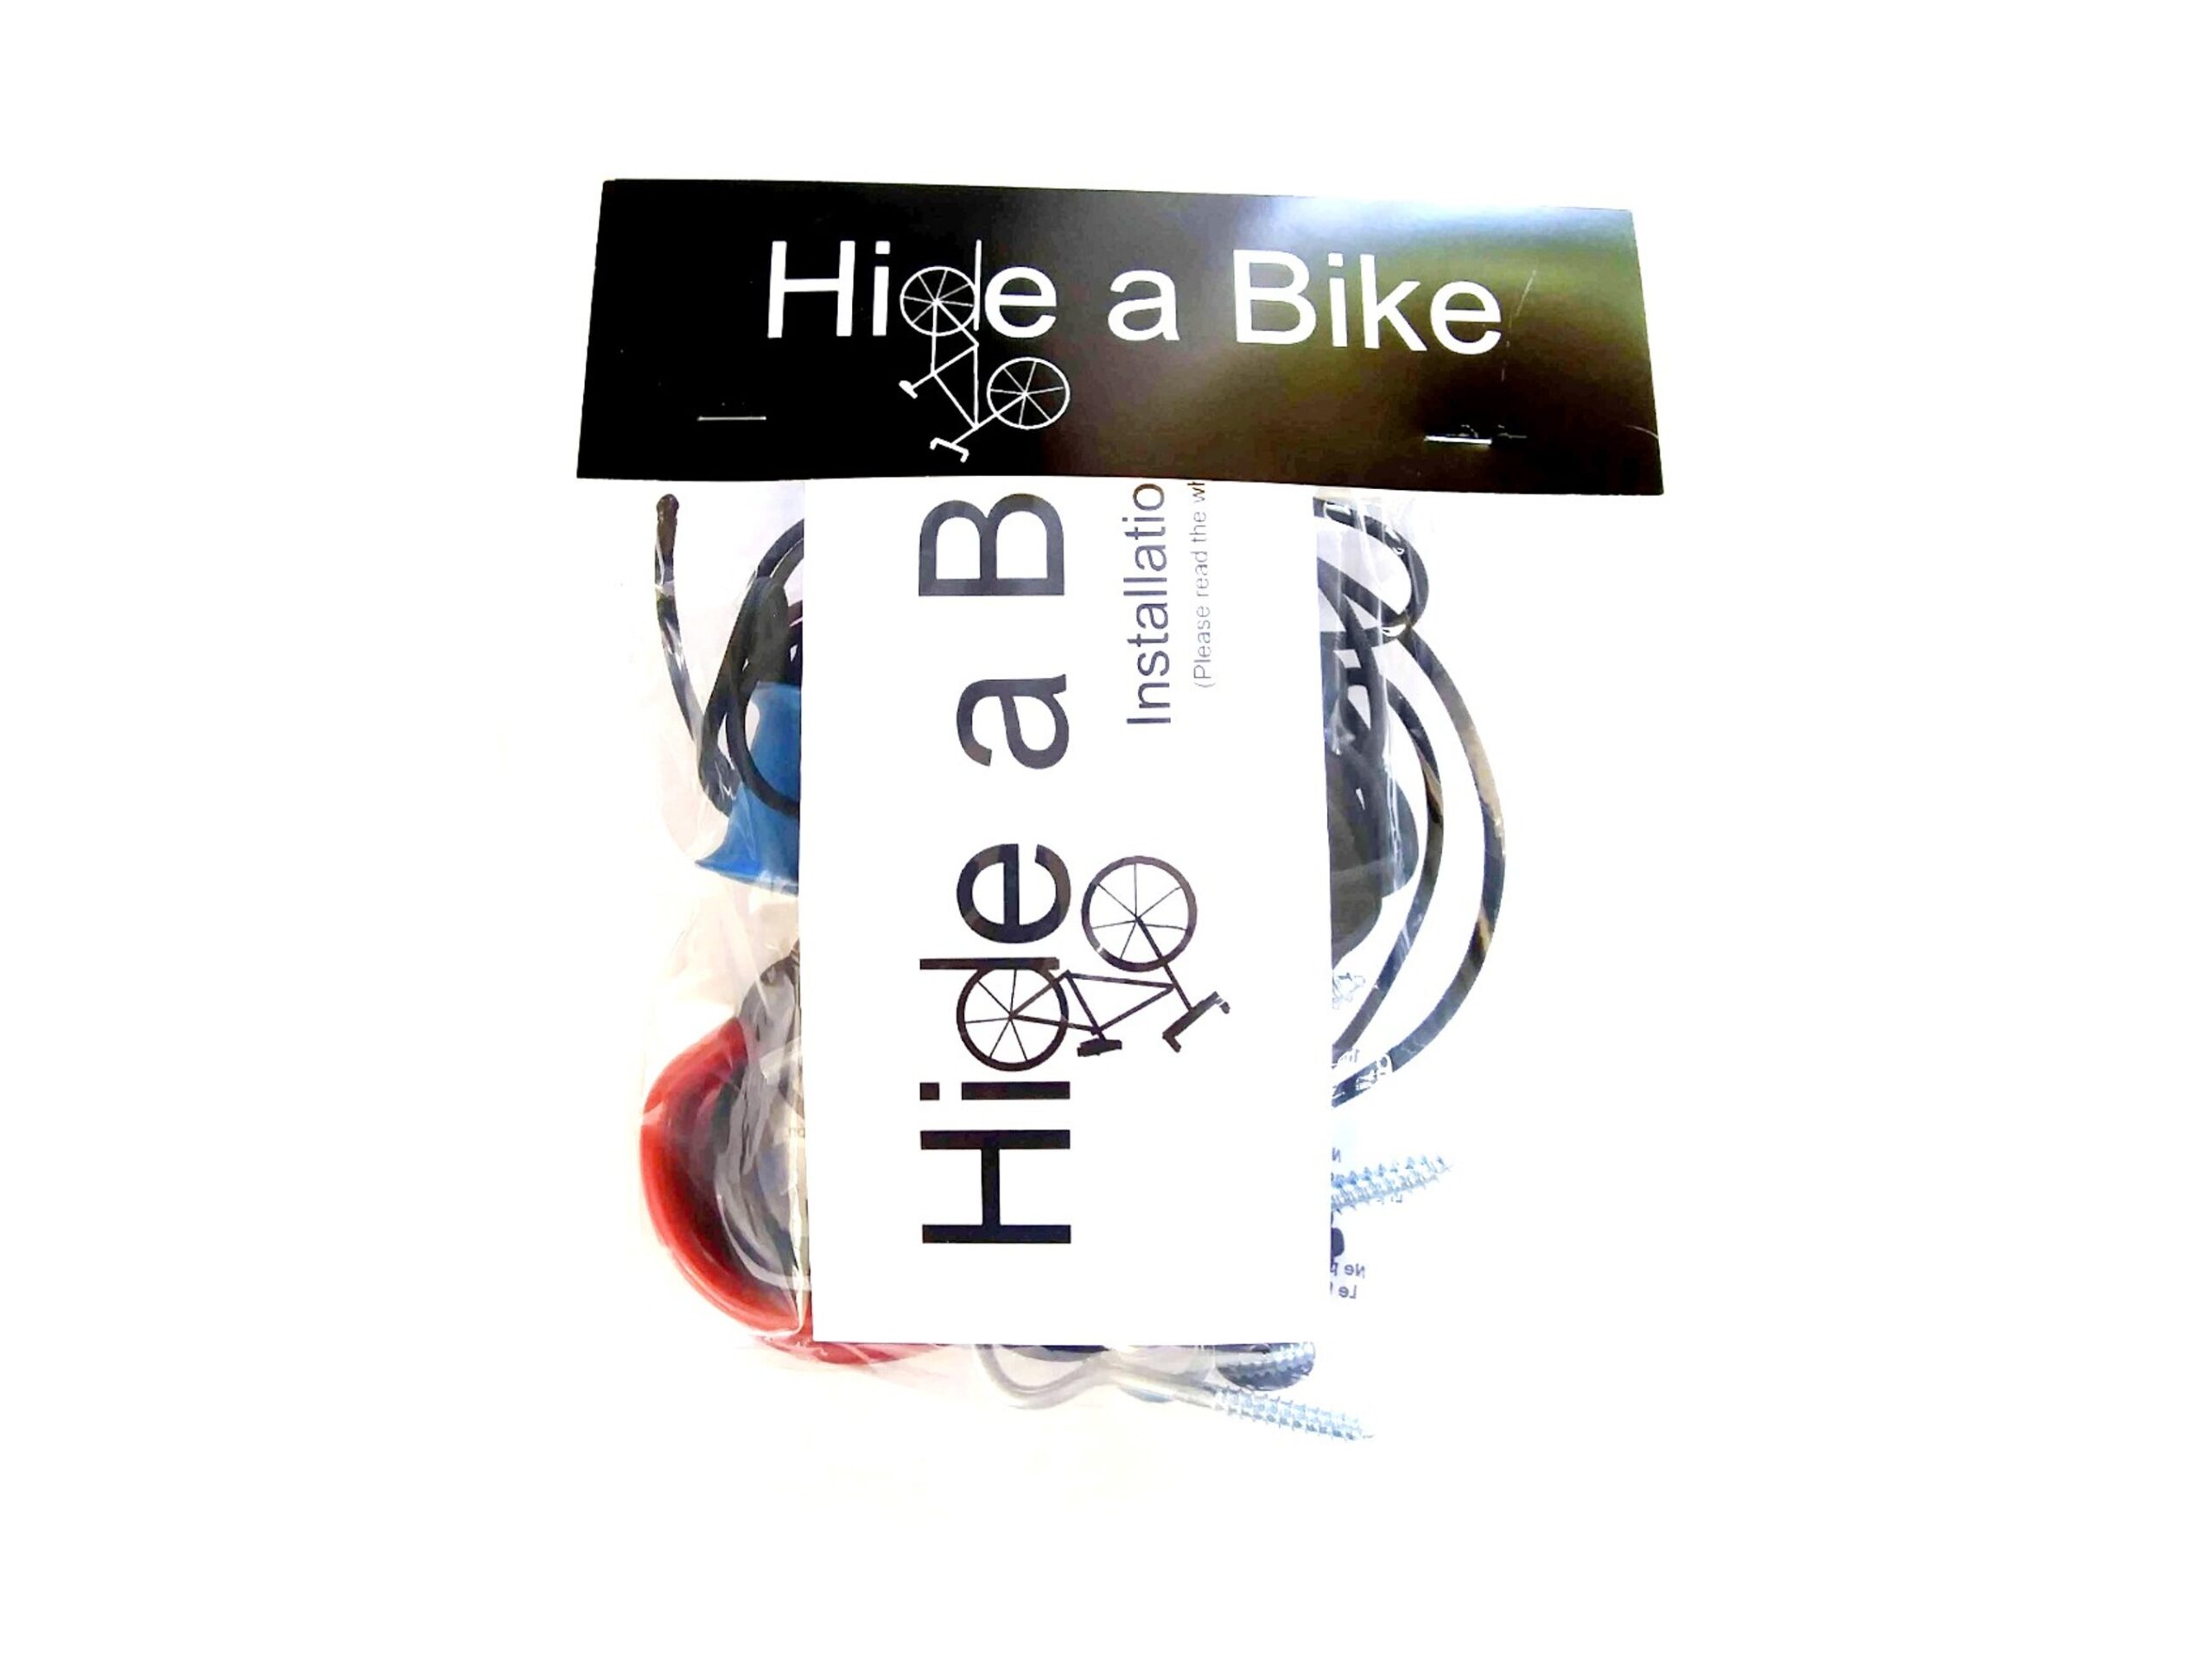
Hide A Bike Kit
Is your garage starting to become a mess? Save space by storing your bikes flat against the ceiling.
Additional Accessories For Improved Performance
Beyond cleats and spacers, a multitude of clipless pedal accessories are available to fine-tune your cycling experience. These accessories cater to various aspects of riding, from performance enhancement to comfort and safety. Here, we’ll explore some of the key tools that cyclists can incorporate into their clipless pedal systems.
Pedal Washers: Pedal washers are often overlooked but play a crucial role in ensuring that your pedals stay securely attached to your crank arms. They provide added stability and help prevent pedal loosening during vigorous rides. In addition, they distribute the load more evenly, which can extend the life of your pedals and shoes.
Shims: Shims are versatile accessories used to fine-tune the stack height and angle of your cleats. They can help alleviate pressure points and discomfort in your feet by adjusting the pedal and shoe interface. Shims are especially useful for riders with specific biomechanical requirements or those who desire a more customized fit.
Wedges: Wedges are inserted between the cleat and shoe to address variances in leg alignment and foot tilt. They can be pivotal in correcting issues like pronation or supination, providing riders with a more stable and comfortable platform.
Heel Wedges: Heel wedges are a specialized form of wedges, designed to address foot alignment issues from the heel up. They can help correct foot tilt and provide extra support, promoting a more natural and efficient pedal stroke.
Cleat Covers: Cleat covers are simple yet valuable accessories for road cyclists. They shield your cleats from wear and tear and provide extra grip when walking in cycling shoes. They can extend the life of your cleats and protect them from damage during off-bike maneuvers.
Cleat Nut Adapters: These adapters allow you to fine-tune the position of your cleats without needing to change your shoe’s sole. They can be especially useful if you want to make adjustments quickly or if your shoes have non-standard cleat drillings.
By incorporating these accessories into your clipless pedal setup, you can tailor your cycling experience to match your unique requirements. Whether you’re seeking improved performance, enhanced comfort, or a more personalized fit, the right combination of accessories can make a significant difference in your time on the saddle.
Maintenance And Troubleshooting
Maintaining your clipless pedal system is essential to ensure optimal performance and safety. As with any mechanical component, regular upkeep can prevent issues and prolong the life of your pedals, cleats, and accessories. This section explores the importance of maintenance and provides tips for addressing common problems that may arise during your rides.
Maintenance: Proper maintenance begins with regular cleaning and lubrication. Mud, dust, and debris can accumulate in your pedals and cleats, affecting engagement and disengagement. Use a brush to remove dirt and then apply a specialized pedal lubricant to ensure smooth operation.
Inspect your cleats for signs of wear, especially around the contact points with the pedals. If you notice excessive wear, it may be time to replace them. A damaged or worn cleat can compromise the secure connection between your shoe and pedal.
Check the tension on your pedal system regularly. Some pedal models have adjustable tension settings to customize the release force. Ensure that the tension matches your preferences and riding style.
Troubleshooting: If you encounter problems with your clipless pedal system while on the road or trail, understanding how to troubleshoot common issues is crucial.
Sticky Engagement or Disengagement: If your pedals are not engaging or disengaging smoothly, check for dirt or debris in the mechanism. Clean and lubricate the pedals as necessary. If problems persist, the springs or cleats may need replacement.
Unintended Releases: If your pedals are releasing unexpectedly, first check the tension settings. If they’re too loose, tighten them to the appropriate level. If the problem persists, inspect your cleats for wear and replace them if necessary.
Squeaking or Creaking: If you hear unusual noises while pedaling, it may be due to friction between your cleats and pedals. Lubricate the contact points, and if the noise continues, inspect the pedals for worn or damaged components.
By maintaining your clipless pedal system and addressing common issues promptly, you can enjoy a trouble-free riding experience. Regular care not only extends the life of your accessories but also ensures that you can ride safely and comfortably, whether on the open road or challenging trails. As you gain experience with clipless pedals, you’ll become more adept at identifying and resolving issues, allowing you to focus on the joy of cycling.

Hide-A-Bike Installation Guide
If you want to put together a Hide-A-Bike kit for yourself, just download these easy to follow, step-by-step directions, complete with a full hardware and parts list.
Conclusion
In the world of cycling, where every detail matters, clipless pedal accessories are the unsung heroes that fine-tune your riding experience. Cleat positioning, spacers, and a range of other accessories hold the power to optimize your performance and comfort.
Cycling is a sport of precision, and your clipless pedal system plays a pivotal role. Whether you’re a competitive racer seeking maximum power transfer or a leisure rider looking for comfort during long journeys, these accessories offer the means to cater to your unique needs.
As you explore the possibilities of clipless pedal accessories, remember that experimentation and expert guidance can lead to a more enjoyable and efficient cycling journey. Embrace the potential these tools offer, and watch as they enhance your connection to the road or trail, one pedal stroke at a time.
Share This Article With A Friend
Did You Read This Whole Article?
You deserve a gift! Enter your email to receive a FREE copy of the Hide-A-Bike Installation Guide! And once a month we will send you a newsletter with the best deals on the internet for bicycle gear and accessories.
About Hide A Bike

Save space by keeping your bike flat against the ceiling with the original easy and convenient bicycle storage solution.
Thank You For Visiting!

You deserve a gift! Enter your email to receive a FREE copy of the Hide-A-Bike Installation guide. And once a month we will send you a newsletter with links to our best finds on bicycle gear and accessories.
Share This Article:
Most Popular Articles:
Article Categories:
Related Articles:

Your Ultimate Guide To Cycling For Fitness Training

Wheels Of Change: The Role Of Bicycles For Social Justice

