How to Properly Adjust Your Bike Seat

Learn how to properly adjust your bike seat for maximum comfort and efficiency.
*This article may contain affiliate ads that help to support this site*
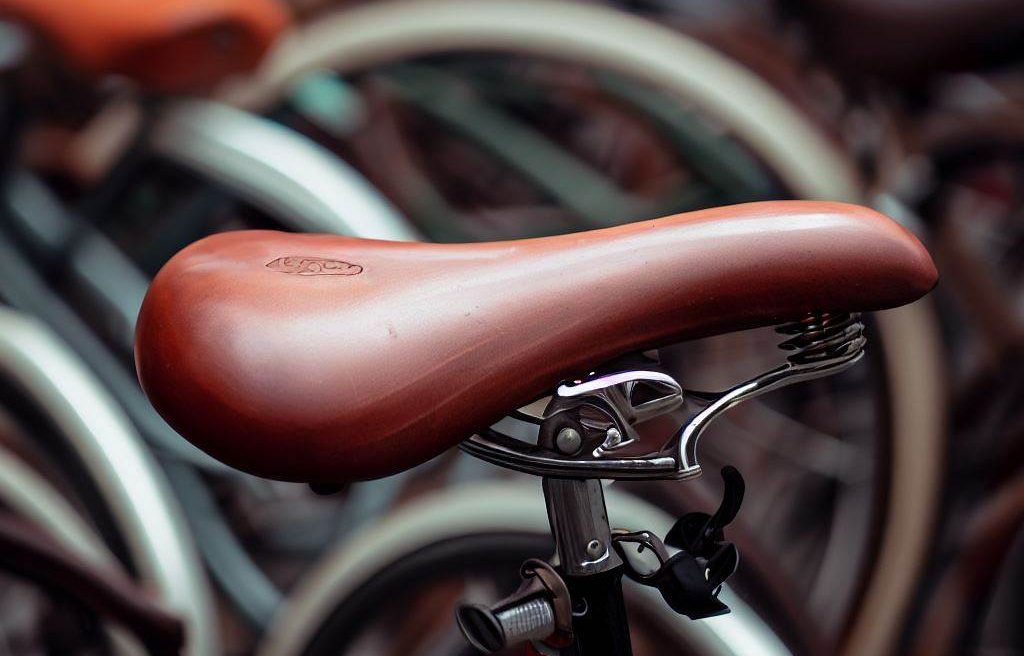
Properly adjusting your bike seat is a crucial aspect of ensuring a comfortable and enjoyable cycling experience. Whether you’re a casual rider or a seasoned cyclist, the right seat position can make a significant difference in your comfort, efficiency, and overall performance on the bike. A well-adjusted bike seat not only helps prevent discomfort and pain during rides but also maximizes power transfer and minimizes the risk of injuries.
By taking the time to understand the principles of bike seat adjustment and making necessary tweaks, you can optimize your riding posture and enhance your cycling experience. In this article, we will explore the key steps to adjust your bike seat properly, including assessing seat height, evaluating fore-aft position, setting seat tilt, and fine-tuning the adjustment. Let’s dive in and discover how a few simple adjustments can make a world of difference in your cycling journey.
Assessing The Seat Height
One of the fundamental aspects of bike seat adjustment is getting the seat height just right. The correct seat height allows for optimal leg extension during each pedal stroke, promoting efficiency and reducing the risk of strain or injury. Here’s how you can assess and adjust your seat height for a comfortable and effective ride.
To begin, stand next to your bike and position yourself so that your feet are flat on the ground. Adjust the seat height so that it aligns with your hip bone. This initial position serves as a starting point for further adjustments. Mount your bike while holding onto a stationary object for balance and support.
With your feet on the pedals, place one foot at the bottom of the pedal stroke (the 6 o’clock position). Your leg should be fully extended but not locked, with a slight bend in the knee. If your heel is easily reaching the pedal, the seat is too low. Conversely, if you’re struggling to reach the pedal with your heel, the seat is too high. The goal is to achieve a proper leg extension and maintain a slight bend in the knee when the ball of your foot is on the pedal.
To fine-tune the seat height, use a measuring tool specifically designed for bike fit or simply note the distance between the top of the seat and the center of the bottom bracket. This measurement can be helpful for future reference if you need to readjust your seat after maintenance or changes.
Remember that the ideal seat height may vary depending on your riding style, bike type, and personal preference. It’s essential to find a balance that feels comfortable and efficient for you. Once you’ve determined the correct seat height, tighten the seat clamp securely to ensure it stays in place during your rides.
Adjusting The Seat Height
Now that you have assessed the initial seat height, it’s time to make the necessary adjustments to achieve the perfect fit. Follow these steps to fine-tune the seat height for optimal comfort and performance.
1) Loosen the Seat Clamp: Locate the seat clamp underneath the seat or at the junction between the seat post and the bike frame. Use the appropriate tool, such as an Allen wrench, to loosen the clamp without fully removing it.
2) Raising or Lowering the Seat: Depending on whether you need to raise or lower the seat, adjust the seat post accordingly. Raise the seat by lifting it upward or lower it by pushing it downward while holding the seat post firmly. Make gradual adjustments, testing the height after each change.
3) Realign the Seat: As you adjust the seat height, ensure that it remains parallel to the ground. A tilted or uneven seat can lead to discomfort and improper weight distribution. Take a step back and visually inspect the seat’s alignment before finalizing the adjustment.
4) Test the Seat Height: Once you think you’ve reached the desired seat height, take a test ride. Pay attention to how your legs feel during the pedal strokes. Ideally, you should experience a smooth and fluid motion without any excessive strain on your knees. If necessary, make further adjustments until you find the sweet spot.
5) Secure the Seat Clamp: After you are satisfied with the seat height, tighten the seat clamp securely using the appropriate tool. Ensure that the seat is stable and doesn’t shift or rotate during your rides.
Remember that finding the perfect seat height may require some trial and error. Take the time to experiment with different heights until you find the one that suits your body and riding style best. A properly adjusted seat height will enhance your comfort, pedaling efficiency, and overall enjoyment on the bike.
Evaluating Seat Fore-Aft Position
While seat height is crucial, the fore-aft position of your bike seat also plays a significant role in your riding comfort and efficiency. Proper alignment ensures optimal knee alignment and allows for efficient power transfer. Here’s how you can evaluate and adjust the fore-aft position of your seat.
1) Proper Knee Alignment: When pedaling, your knees should track in a straight line, moving vertically up and down. Misalignment can result in discomfort, knee pain, or inefficient pedaling. Start by positioning your pedals parallel to the ground and placing your feet on them.
2) Adjusting the Seat Position: Begin by moving the seat to a neutral position. This is where the seat is parallel to the ground and the center of the seat aligns with the center of the bottom bracket. Sit on the bike with your feet on the pedals in the 3 and 9 o’clock positions. Observe your knees as you pedal slowly. Ideally, your knees should be in line with the center of your feet, neither too far forward nor too far back.
3) Maintaining a Neutral Position: Based on your observation, you can make small adjustments to the seat’s fore-aft position. If your knees are too far forward, move the seat slightly backward. Conversely, if your knees are too far back, move the seat forward. Make these adjustments gradually, testing the position with short rides or test pedaling.
4) Fine-tuning for Comfort and Efficiency: Pay attention to any discomfort or strain in your knees or hips during the test rides. Continue to make small adjustments until you find the position that allows for a smooth and comfortable pedal stroke. It’s important to strike a balance between comfort and power transfer.
By evaluating and adjusting the fore-aft position of your seat, you can improve your pedaling efficiency, reduce the risk of injury, and enhance your overall riding experience. Remember to make incremental changes and test the position before finalizing the adjustment.

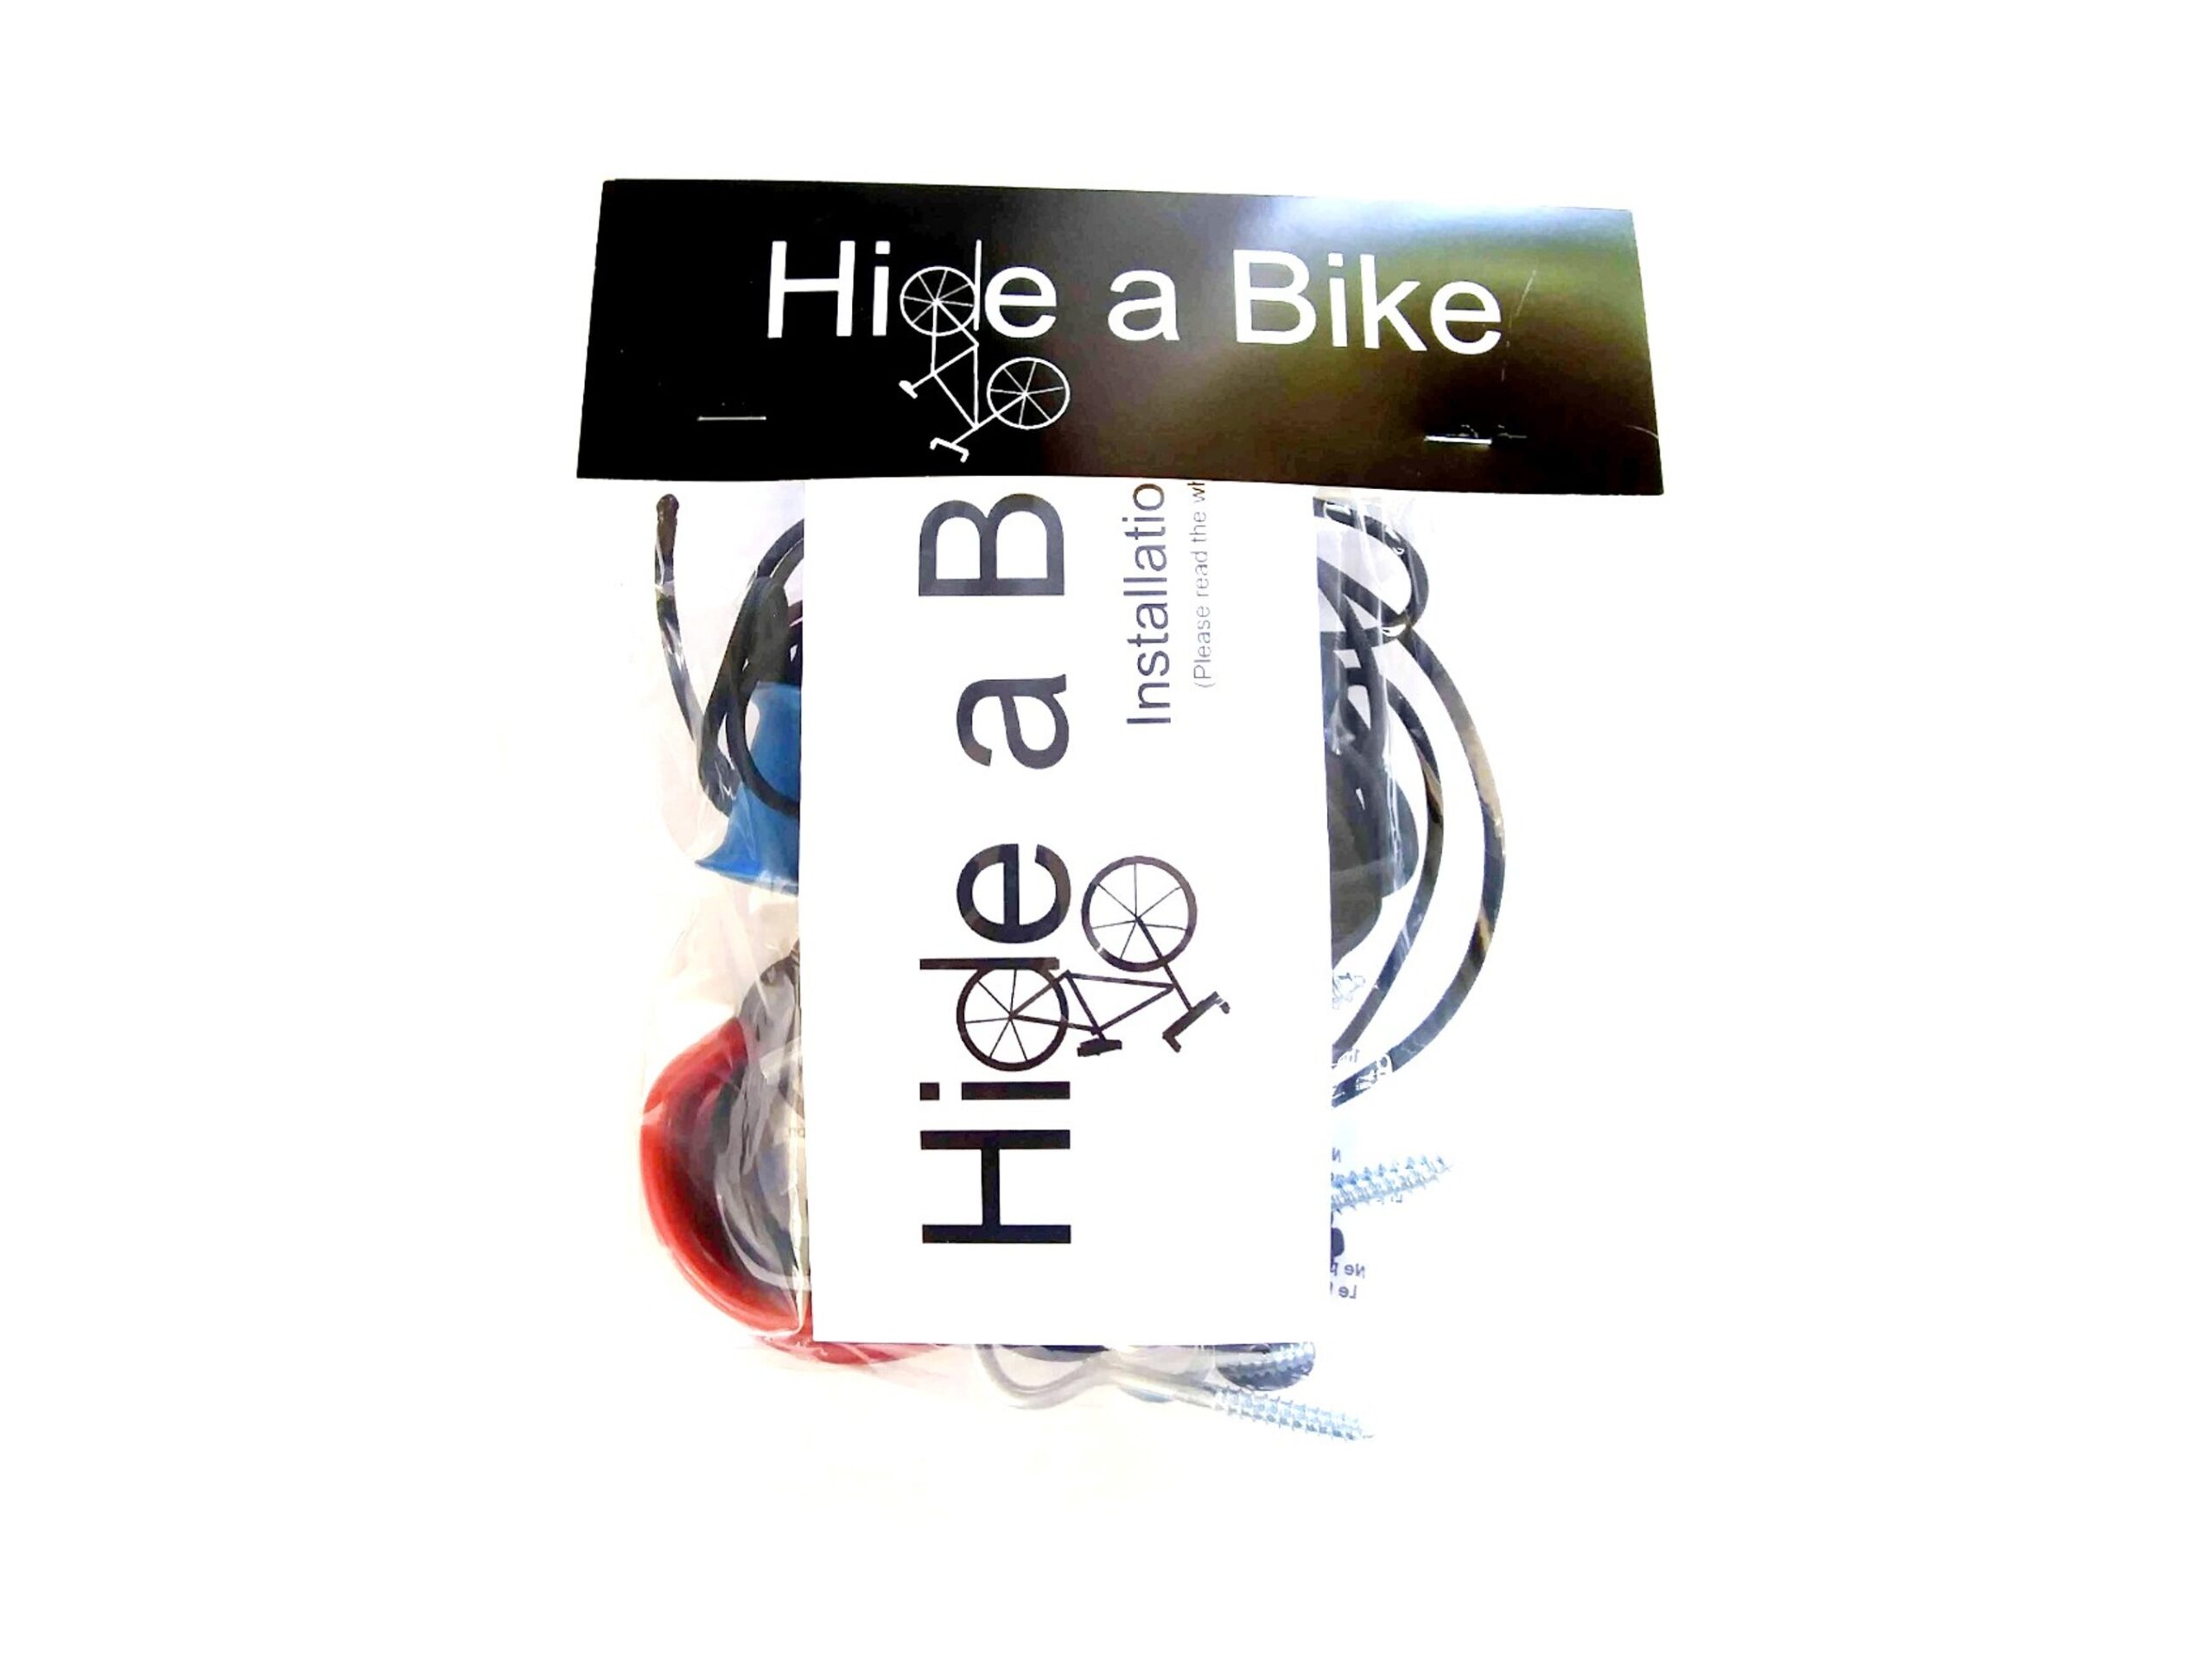
Hide A Bike Kit
Is your garage starting to become a mess? Save space by storing your bikes flat against the ceiling.
Setting Seat Tilt
The tilt of your bike seat plays a vital role in ensuring proper weight distribution, comfort, and stability while riding. Adjusting the seat tilt can also alleviate pressure on sensitive areas and enhance your overall cycling experience. Here’s how you can set the seat tilt to achieve a personalized fit.
1) Understanding the Importance of Seat Tilt: The tilt of your seat affects how your body interacts with the bike. A neutral or slightly downward tilt promotes even weight distribution between your sit bones and reduces pressure on sensitive areas. It also helps maintain a stable and balanced position on the bike.
2) Leveling the Seat: Start by making sure your seat is level horizontally. You can use a level tool or visually assess the seat’s alignment with the ground. A slightly forward or backward tilt can cause discomfort or affect your balance, so aim for a level position as a starting point.
3) Adjusting the Tilt Angle: Experiment with small adjustments to find the ideal tilt angle that feels comfortable for you. A general guideline is to have the front of the seat slightly lower than the back, creating a gentle downward slope. However, individual preferences may vary, so trust your own comfort and feel during test rides.
4) Test Rides and Personal Preference: Take your bike for a short ride or spin to assess how the seat tilt feels in action. Pay attention to any discomfort, pressure points, or sliding forward or backward sensations. If needed, make further adjustments to achieve the desired tilt angle that provides both comfort and stability.
5) Regular Reassessment: Over time, you may find that your preferences or body positioning change. It’s essential to regularly reassess and readjust the seat tilt accordingly. Periodically check the levelness and comfort of your seat to ensure an optimal riding experience.
Setting the seat tilt correctly can significantly impact your comfort and stability on the bike. Take the time to find the angle that suits your body and riding style best. Remember, small adjustments can make a big difference in your overall enjoyment and performance.
Fine-Tuning Seat Adjustment
Achieving the perfect fit for your bike seat often requires fine-tuning and personalization. Through test rides and attention to detail, you can further optimize your riding experience. Here are some tips for fine-tuning your bike seat adjustment.
1) Taking Test Rides and Making Adjustments: Once you’ve made initial adjustments to your seat height, fore-aft position, and tilt, take your bike for test rides of varying distances. Pay close attention to how your body feels during the rides. Notice any discomfort, pressure points, or instability. Use these cues to guide your adjustments. Gradually make small changes to your seat height, fore-aft position, or tilt until you find the most comfortable and efficient setup.
2) Seeking Professional Assistance if Needed: If you’re having difficulty achieving the desired fit or experiencing persistent discomfort, it can be helpful to consult a professional bike fitter. They have expertise in assessing your biomechanics and making precise adjustments to maximize your comfort and performance. A bike fitter can provide valuable insights, recommend specific changes, and even suggest alternative components if necessary.
3) Regularly Reassessing and Readjusting the Seat: As you continue to ride and gain more experience, your body and preferences may change. It’s important to regularly reassess and readjust your bike seat. Factors like fitness level, riding style, and goals can influence your ideal fit. Stay attuned to any changes in comfort, performance, or discomfort and make the necessary tweaks to keep your bike seat perfectly dialed in.
Remember, achieving the ideal bike seat adjustment is a dynamic process. It requires experimentation, patience, and a willingness to listen to your body. Through continuous fine-tuning and seeking professional guidance if needed, you can optimize your bike seat fit and enjoy a more comfortable, efficient, and enjoyable cycling experience.

Hide-A-Bike Installation Guide
If you want to put together a Hide-A-Bike kit for yourself, just download these easy to follow, step-by-step directions, complete with a full hardware and parts list.
Conclusion
Properly adjusting your bike seat is crucial for a comfortable and enjoyable cycling experience. By following the steps outlined in this article, including assessing seat height, adjusting fore-aft position, setting seat tilt, and fine-tuning the fit, you can optimize your riding posture and enhance your performance. Remember to regularly reassess and readjust your seat as your body and preferences evolve. Prioritizing proper seat adjustment not only improves comfort and efficiency but also reduces the risk of injuries. So, take the time to find the perfect fit for your bike seat, and get ready to embark on countless rewarding rides ahead. Happy cycling!
Share This Article With A Friend
Did You Read This Whole Article?

You deserve a gift! Enter your email to receive a FREE copy of the Hide-A-Bike Installation Guide! And once a month we will send you a newsletter with the best deals on the internet for bicycle gear and accessories.
About Hide A Bike

Save space by keeping your bike flat against the ceiling with the original easy and convenient bicycle storage solution.
Thank You For Visiting!

You deserve a gift! Enter your email to receive a FREE copy of the Hide-A-Bike Installation guide. And once a month we will send you a newsletter with links to our best finds on bicycle gear and accessories.


