Important Cycling Safety To Teach Your Kids
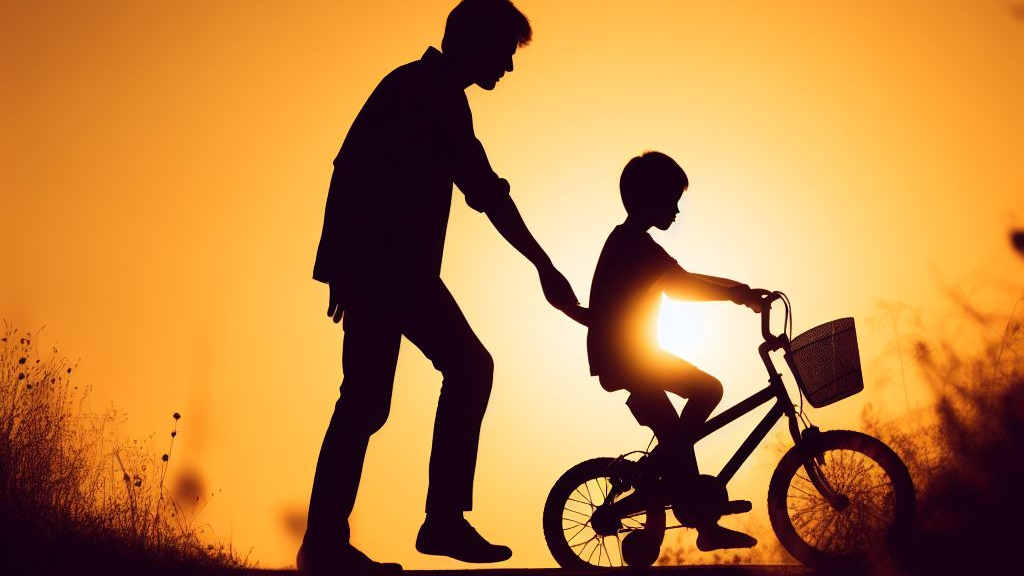
Discover essential tips for teaching cycling safety to kids, from choosing the right bike to using hand signals. Ensure your kids' safety today!
*This article may contain affiliate ads that help to support this site*
Cycling is not only a fun and exhilarating activity for children but also a valuable skill that promotes independence, physical fitness, and a connection to the great outdoors. However, as with any physical activity, safety should always come first. Teaching your child the essentials of cycling safety is not just a responsibility but a gift of lifelong knowledge.
In this article, we’ll explore how to ensure your child’s cycling experience is both enjoyable and secure. From selecting the right-sized bike and fitting a helmet correctly to choosing safe riding locations and teaching fundamental rules of the road, we’ll cover every aspect of nurturing your child’s cycling skills.
By the end of this guide, you’ll be equipped with the knowledge and confidence to teach the next generation of cyclists how to ride safely, responsibly, and with an enduring love for this healthy and eco-friendly mode of transportation.
Choosing The Right Bike
Selecting the right-sized bike is the first crucial step in ensuring your child’s safety and enjoyment while cycling. A properly fitted bike not only enhances their control and comfort but also reduces the risk of accidents. Here’s how you can go about choosing the perfect bike for your child:
1) Measure Your Child: Start by measuring your child’s height and inseam. These measurements will help you determine the appropriate bike size. Most bike manufacturers provide size charts based on height and age, which can serve as a useful reference.
2) Consider a Slightly Larger Bike: While it’s important to choose a bike that fits your child’s current measurements, consider a bike that allows for growth. Kids grow quickly, and buying a slightly larger bike can extend its usability. Look for bikes with adjustable seats and handlebars.
3) Test the Fit: When you visit a bike shop, have your child sit on various bikes to test the fit. Their feet should comfortably touch the ground when sitting on the saddle, and they should be able to grip the handlebars without overstretching.
4) Weight Matters: Pay attention to the weight of the bike. Lighter bikes are easier for kids to control and maneuver. Avoid heavy bikes, as they can be challenging for children to handle.
5) Age-Appropriate Features: Some bikes come with features designed specifically for different age groups, such as training wheels for younger children or multiple gears for older kids. Consider these features based on your child’s age and skill level.
6) Safety Considerations: Look for safety features, such as handlebar padding and chain guards, to prevent accidents and injuries.
By taking these steps and consulting with knowledgeable staff at a bike shop, you can ensure that your child’s bike is the right size and equipped with the necessary safety features. A properly fitted bike sets the foundation for a safe and enjoyable cycling experience for your young rider.
Fitting A Helmet
Once you’ve selected the right-sized bike for your child, the next essential step in ensuring their safety while cycling is properly fitting a helmet. Helmets are a cyclist’s most vital piece of safety equipment, as they significantly reduce the risk of head injuries in case of accidents. Here’s a step-by-step guide on how to ensure your child’s helmet fits correctly:
1) Size Matters: Start by choosing a helmet that is the right size for your child. Helmets come in various sizes, so measure your child’s head circumference with a tape measure. The helmet should fit snugly without being too tight.
2) Positioning: The helmet should sit level on your child’s head, covering their forehead and just above the eyebrows. It should not tilt backward or forward. The chin straps should be flat against the skin and form a “V” shape under each ear.
3) Adjust the Straps: Most helmets have adjustable chin straps and a rear tightening mechanism. Adjust the straps so they are comfortably snug but not too tight. The “Y” junction of the straps should be just below the earlobe.
4) Check for Stability: With the helmet properly adjusted, ask your child to shake their head gently. The helmet should stay in place without rocking or sliding. If it moves excessively, readjust the straps and tightening mechanism.
5) Perform the Two-Finger Test: You should be able to fit two fingers between the helmet and your child’s forehead. This ensures the helmet is snug enough without being overly tight.
6) Inspect for Damage: Regularly inspect the helmet for cracks, dents, or any signs of damage. Replace the helmet if it has been involved in an accident or shows signs of wear and tear.
Remember that helmets have a limited lifespan, and it’s essential to replace them every few years or if they’ve been damaged. Ensuring a properly fitted helmet is a fundamental aspect of cycling safety for kids. In the following sections, we’ll delve into selecting safe riding locations and teaching basic rules and hand signals to further enhance your child’s cycling safety.
Safe Riding Locations
Choosing the right riding location for your child is a critical aspect of promoting cycling safety. It can significantly impact their enjoyment and minimize potential risks. Here’s how to select safe riding locations for your young cyclist:
1) Parks and Trails: Local parks, nature trails, and bike paths are excellent choices for beginners. These areas often provide a dedicated space for cyclists away from road traffic. Ensure the paths are smooth and free of obstacles.
2) Quiet Residential Streets: If your child is learning to ride, quiet residential streets with minimal traffic can be suitable practice areas. Ensure that these streets have low speed limits and limited through traffic.
3) School Playgrounds: During non-school hours, empty school playgrounds can provide a safe, controlled environment for young riders to practice their cycling skills. Ensure permission if the area is not publicly accessible.
4) Supervision: Regardless of the location, always supervise your child when they are cycling, especially if they are young or inexperienced. Be attentive to potential hazards and provide guidance as needed.
5) Avoid Busy Roads: Until your child has gained sufficient experience and road awareness, avoid letting them cycle on busy roads. Teach them to recognize road signs, signals, and the importance of following traffic rules.
6) Gradual Progression: As your child becomes more confident and skilled, you can gradually introduce more challenging riding environments, such as lightly trafficked neighborhood streets. Emphasize the importance of staying on the right side of the road and using proper hand signals.
By carefully selecting safe riding locations and gradually increasing the complexity of riding environments as your child gains experience, you can ensure that they build the necessary skills and confidence to become responsible and safety-conscious cyclists. In the next section, we’ll explore how to teach your child basic rules of the road and important hand signals to enhance their safety further.
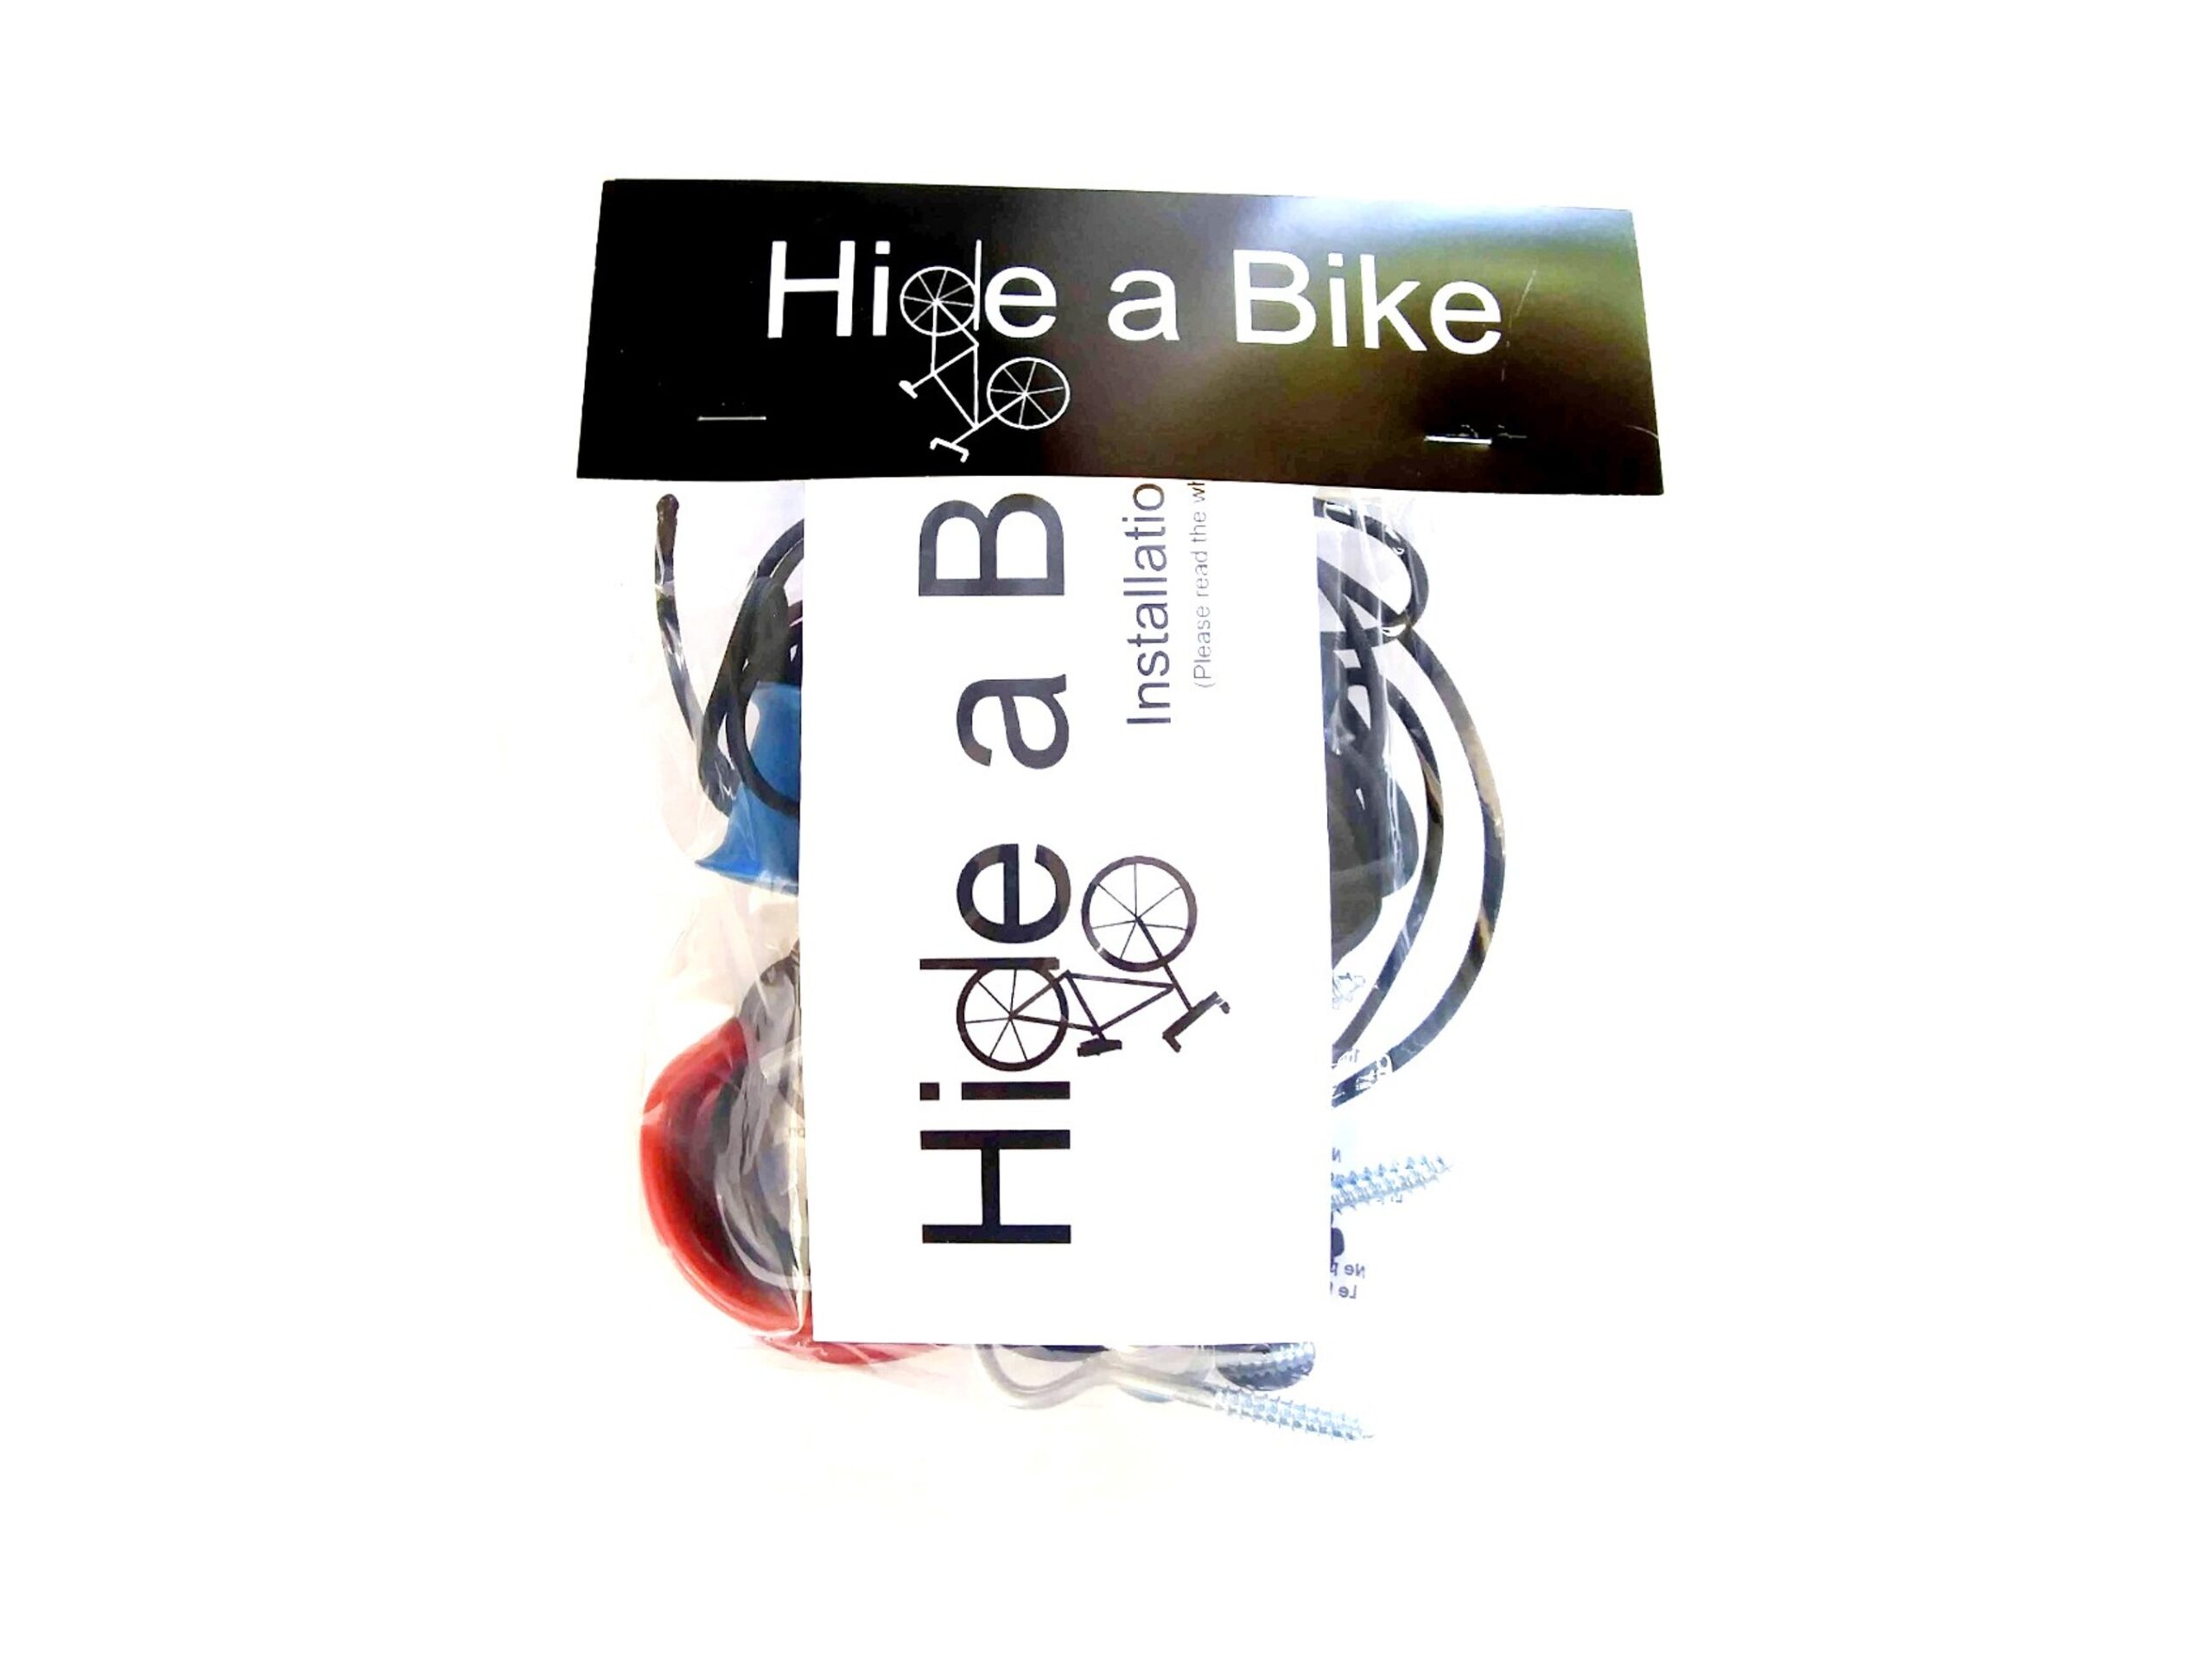
Hide A Bike Kit
Is your garage starting to become a mess? Save space by storing your bikes flat against the ceiling.
Teaching Basic Rules And Hand Signals
In addition to selecting the right equipment and riding locations, it’s crucial to educate your child about basic rules of the road and important hand signals. These rules and signals will help them communicate with other road users and navigate safely. Here’s how to teach your child:
1) Traffic Signals and Signs: Begin by explaining common traffic signals and signs that they might encounter while cycling. Teach them to recognize and obey stop signs, yield signs, and pedestrian crosswalks.
2) Right-of-Way: Emphasize the importance of yielding the right-of-way when necessary. For example, if they approach an intersection without stop signs, teach them to yield to vehicles already in the intersection.
3) Hand Signals: Introduce your child to basic hand signals that cyclists use to communicate their intentions:
– Left Turn: Extend the left arm straight out to the side.
– Right Turn: Extend the left arm out with the elbow bent at a 90-degree angle, pointing upward.
– Stop or Slow Down: Extend the left arm out with the elbow bent at a 90-degree angle, pointing downward.
4) Using Hand Signals: Explain when and how to use these signals. For example, they should use the left-turn signal well in advance of making a left turn to inform drivers and cyclists behind them of their intentions.
5) Stay Visible: Teach your child to always make eye contact with drivers when possible, especially at intersections. Remind them to be visible by wearing brightly colored clothing and using lights or reflectors, especially when riding in low-light conditions.
6) Follow Traffic Laws: Emphasize the importance of obeying traffic laws, including stopping at red lights, using crosswalks when necessary, and respecting the rules of the road.
7) Leading by Example: Be a role model for your child by following these rules and using hand signals when you’re cycling together. Encourage them to practice these skills during supervised rides.
By teaching your child these basic rules of the road and hand signals, you’ll empower them to navigate traffic safely and communicate effectively with other road users. In the next section, we’ll discuss the importance of supervision, encouragement, and leading by example in promoting cycling safety for kids.
Supervision, Encouragement, And Leading By Example
Ensuring your child’s safety while cycling doesn’t stop at selecting the right equipment and teaching them the rules of the road. Active supervision, encouragement, and setting a positive example play vital roles in fostering a culture of safe cycling habits.
1) Active Supervision: Always accompany your child on their cycling adventures, especially when they are younger or just starting out. Actively supervise them to ensure they follow safety rules and make responsible decisions. Be present to provide guidance, intervene in risky situations, and offer immediate assistance if needed.
2) Open Communication: Encourage open communication with your child about their cycling experiences. Create an environment where they feel comfortable discussing any safety concerns or incidents they encounter while cycling. Address their questions and reinforce the importance of safety.
3) Set Realistic Expectations: Set achievable goals for your child’s cycling skills and gradually increase the complexity of rides as they gain experience. Be patient and acknowledge their progress, no matter how small. Avoid pushing them too hard or placing undue pressure on their performance.
4) Positive Reinforcement: Offer positive reinforcement for safe and responsible behavior. Praise your child when they use hand signals correctly, follow traffic rules, or make safe choices while cycling. Encouragement can boost their confidence and motivation to prioritize safety.
5) Leading by Example: Children learn by observing their parents and caregivers. Practice what you preach by consistently following cycling safety rules and wearing appropriate safety gear. When you cycle together, demonstrate responsible behavior, such as using hand signals, stopping at stop signs, and yielding the right-of-way.
6) Stay Informed: Stay informed about local cycling laws and safety guidelines to ensure you provide accurate and up-to-date information to your child. Encourage them to participate in bicycle safety classes or workshops if available in your area.
7) Celebrate Achievements: Celebrate milestones in your child’s cycling journey. Whether it’s mastering a challenging route or consistently demonstrating safe cycling practices, recognizing their achievements can reinforce their commitment to safety.
By actively supervising, encouraging, and leading by example, you can instill a strong sense of responsibility and safety awareness in your child’s cycling endeavors. Together, you can enjoy the benefits of cycling while minimizing risks and fostering a lifelong love for safe cycling.

Hide-A-Bike Installation Guide
If you want to put together a Hide-A-Bike kit for yourself, just download these easy to follow, step-by-step directions, complete with a full hardware and parts list.
Conclusion
Teaching cycling safety to the next generation of cyclists is a fundamental responsibility that comes with countless rewards. As parents and caregivers, we have the opportunity to empower our children with the knowledge and skills they need to enjoy the freedom and adventure of cycling while prioritizing safety.
From choosing the right equipment and fitting a helmet correctly to selecting safe riding locations, teaching road rules, and leading by example, the journey of nurturing safe cyclists is both enriching and transformative. By following the guidelines in this article, you can lay the foundation for a lifetime of enjoyable and secure cycling experiences for your child.
Remember that safety is an ongoing conversation and commitment. Continue to foster open communication, encourage responsible cycling practices, and set a positive example. Together, we can create a community of confident, safety-conscious young cyclists who will carry these essential skills throughout their lives. Happy cycling!
Share This Article With A Friend
Did You Read This Whole Article?
You deserve a gift! Enter your email to receive a FREE copy of the Hide-A-Bike Installation Guide! And once a month we will send you a newsletter with the best deals on the internet for bicycle gear and accessories.
About Hide A Bike

Save space by keeping your bike flat against the ceiling with the original easy and convenient bicycle storage solution.
Thank You For Visiting!

You deserve a gift! Enter your email to receive a FREE copy of the Hide-A-Bike Installation guide. And once a month we will send you a newsletter with links to our best finds on bicycle gear and accessories.
Share This Article:
Most Popular Articles:
Article Categories:
Related Articles:

How To Cycle With Your Dog Safely

How To Stay Safe When Riding Your Bike


